View your lists
The List Manager allows you to see the lists you own, as well as the lists that other users have shared with you because you have been explicitly granted Manager permissions.
From here, you can browse the complete set of lists, view detailed information about each one, sort and filter the lists, and customize which fields are displayed.
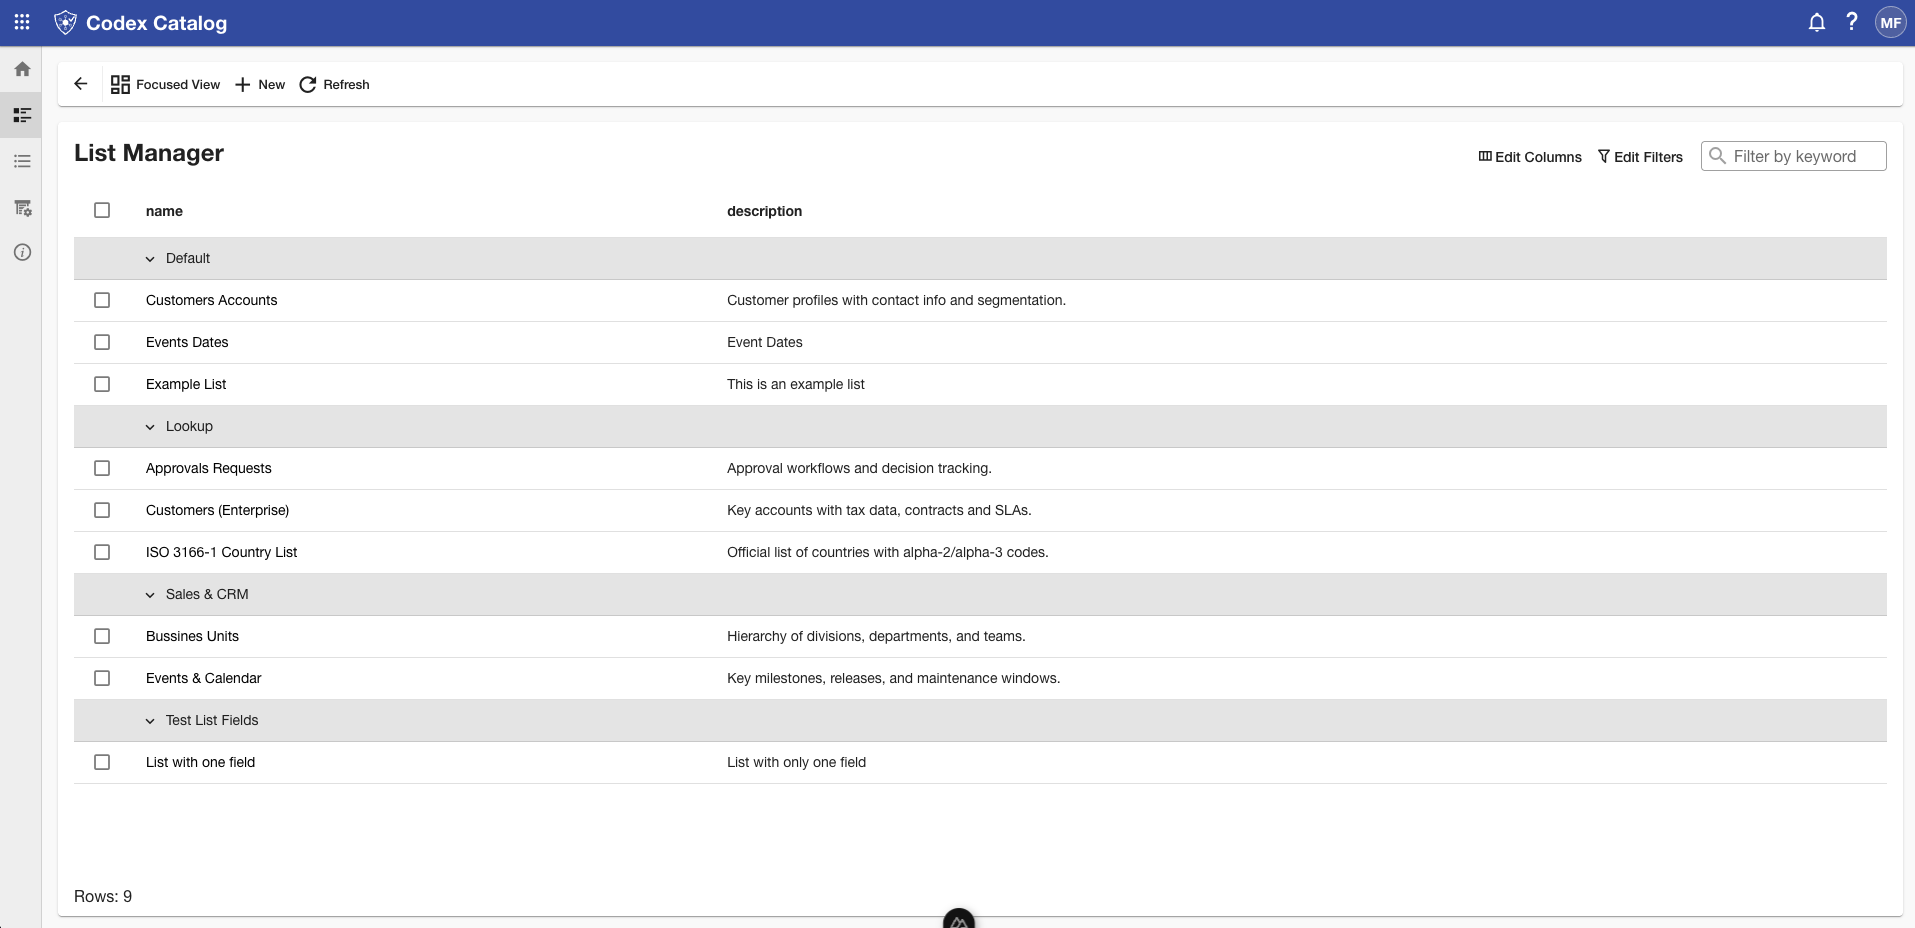
View all lists
First, open the List Manager from Home or the Sidebar.
The recommended option is the Grid View, which displays all your lists in a table format.
By default, the table shows the Name and Description columns for each list.
As an alternative, you can also use the Focused View.
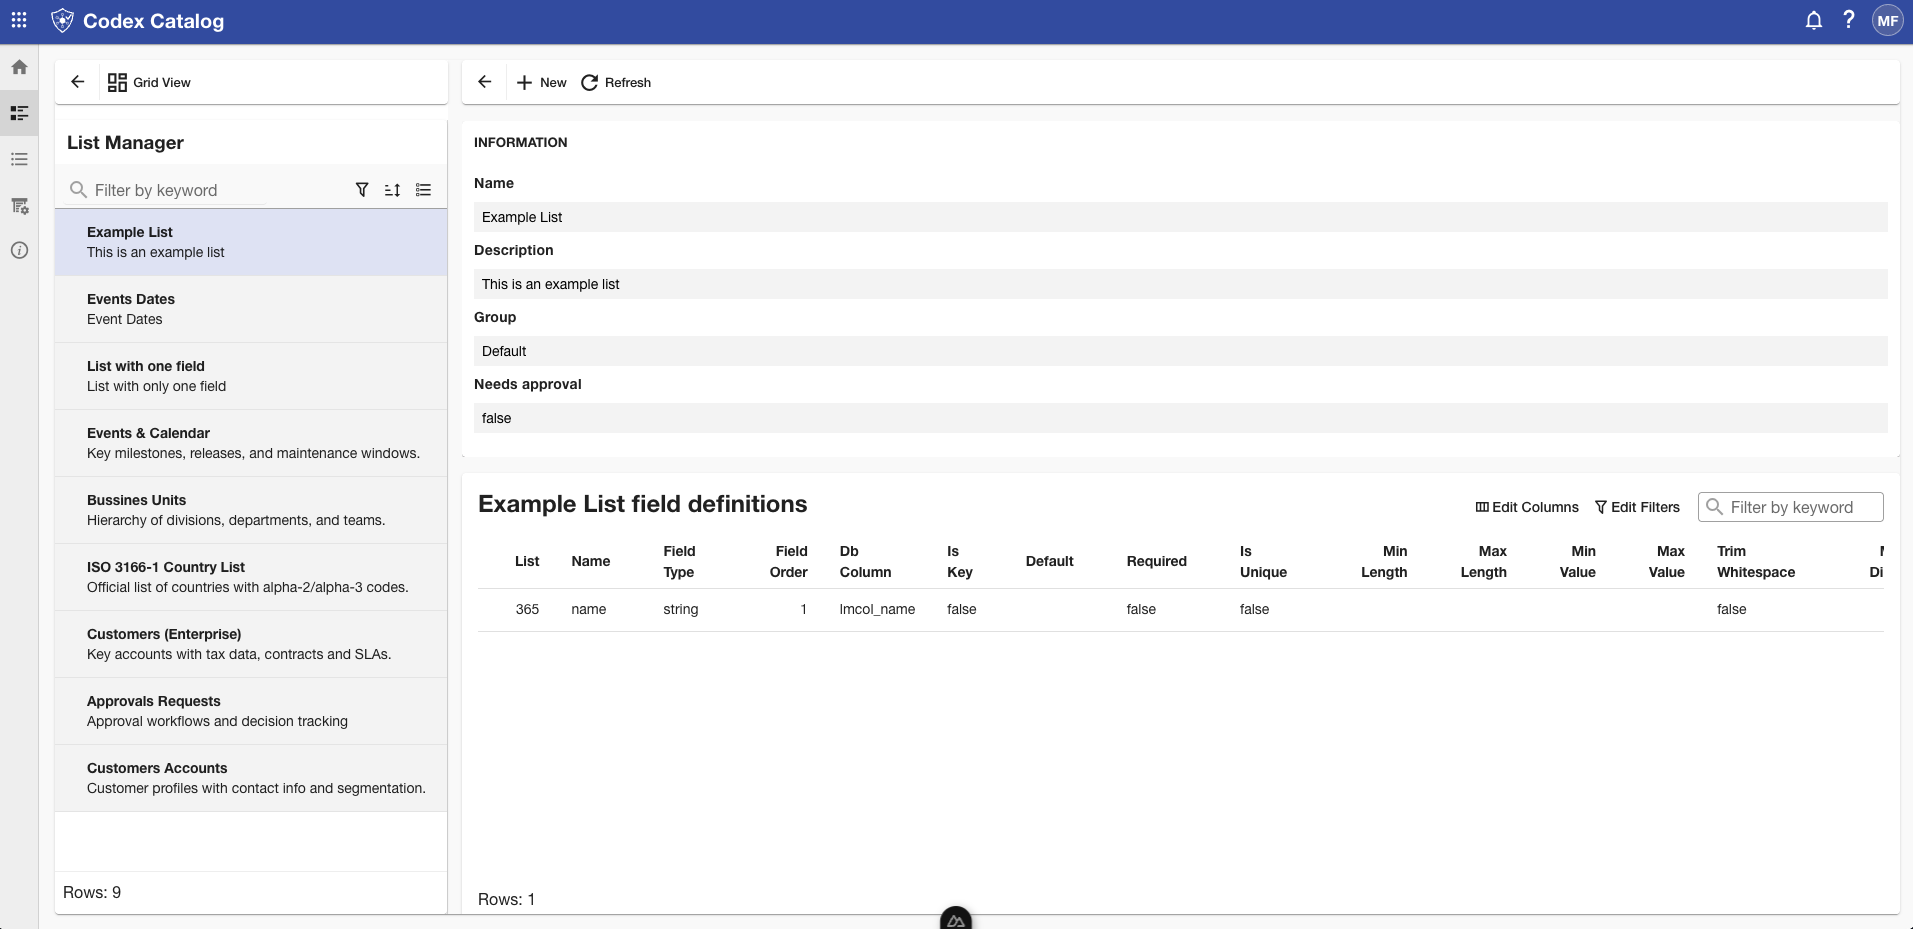
In this mode, the left sidebar displays the lists with their description, while the right pane shows, only after you select one, the following:
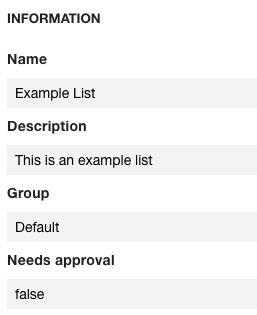
The Information section (top right section)
Contains the general details of the selected list.
These are the definitions of all information fields.
| Field | Description |
|---|---|
| Name | The visible name of the list. |
| Description | A short description provided by the list’s creator. |
| Group | The user group this list belongs to. |
| Needs approval | Indicates whether new or modified records in this list require approval by another user before being published. |
The Field Definitions (bottom right section)
Describe the structure of the list.
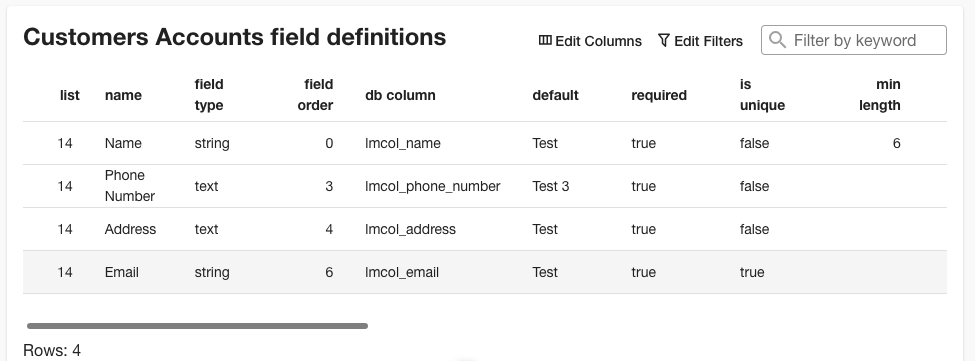
Each field includes attributes such as:
| Field | Description |
|---|---|
| List | The internal list identifier. |
| Name | The field name. |
| Field Type | The data type of the field (e.g., string, bigint, boolean). |
| Field Order | The order in which the field appears. |
| Is Key | Indicates if the field is a primary key. |
| Default | Shows the default value for the field (if any). |
| Required | Indicates if the field must always have a value. |
| Is Unique | Indicates if values in this field must be unique. |
| Min/Max Length | Defines the minimum and maximum allowed length for string fields. |
| Min/Max Value | Defines the numeric limits for fields of type number. |
| Trim Whitespace | Specifies if leading/trailing whitespace should be removed from the field value. |
| Max Digits | Sets the maximum total number of digits allowed in numeric or decimal fields. |
| Decimal Places | Specifies how many digits can appear after the decimal point in numeric fields. |
| Reference List | For reference-type fields, indicates the target list that this field links to. |
| Reference Display | For reference fields, defines which field from the referenced list will be shown to users. |
| Reference Value | For reference fields, defines which field from the referenced list provides the stored value. |
Sort your displayed lists
In Grid View, you can sort the displayed lists using the arrow icons located on the right side of each column header.
The arrow icon is hidden. Hover over the field to make it visible.
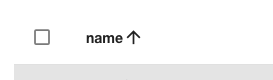
Click the arrow to sort the lists by the desired field (e.g., Name, Description, Group) — in ascending order (up arrow) or descending order (down arrow).
In Focused View, sorting arrows are not available. However, you can still apply sort options to the lists in the left pane, allowing you to arrange how lists appear before selecting one to view its details.

Sorting affects only the order of the lists within the table; groups remain preserved in their hierarchy.
Search a list by keyword
You can use search keywords in the List Manager to quickly find a specific list by any of the fields it contains or the Group it belongs to.
Simply enter a keyword into the Search bar to filter the displayed results.
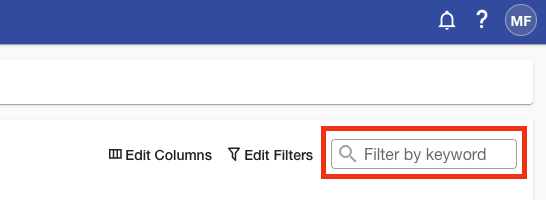
The search applies across all visible columns (e.g., Name, Description, Group).
This feature is especially useful when you know part of a list’s name or description, allowing you to locate it quickly without browsing through all available lists.
Filter lists
Filters allow you to narrow down the lists displayed based on the value of specific fields.
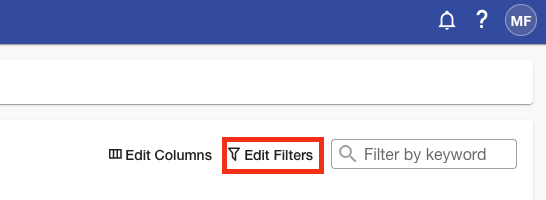
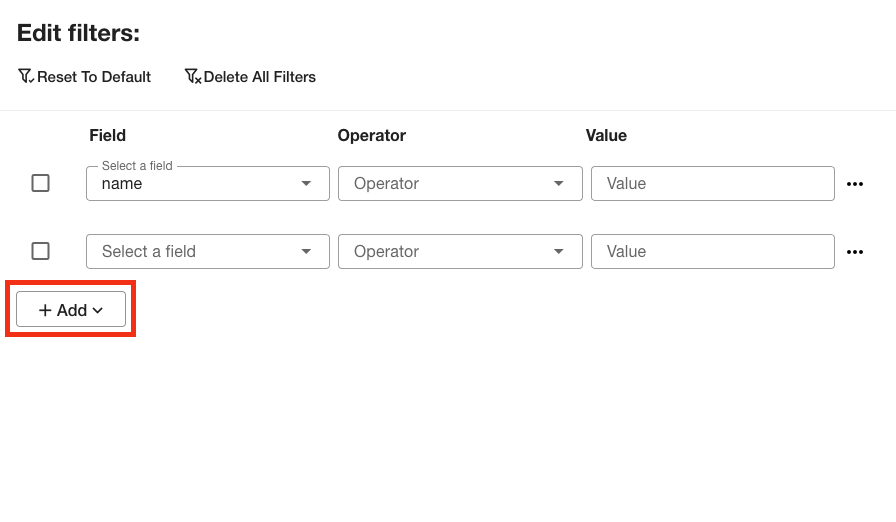
In the List Manager section, go to the View Toolbar in the top-right corner of the Main View and click Edit Filters. This will open the Edit Filters panel on the right side of the screen.
Here you can:
- Select a Field (e.g., Name, Description, Group).
- Choose an Operator (e.g., equals / not equals, contains / not contains, begin with / not begin with).
- Enter a Value to filter by.
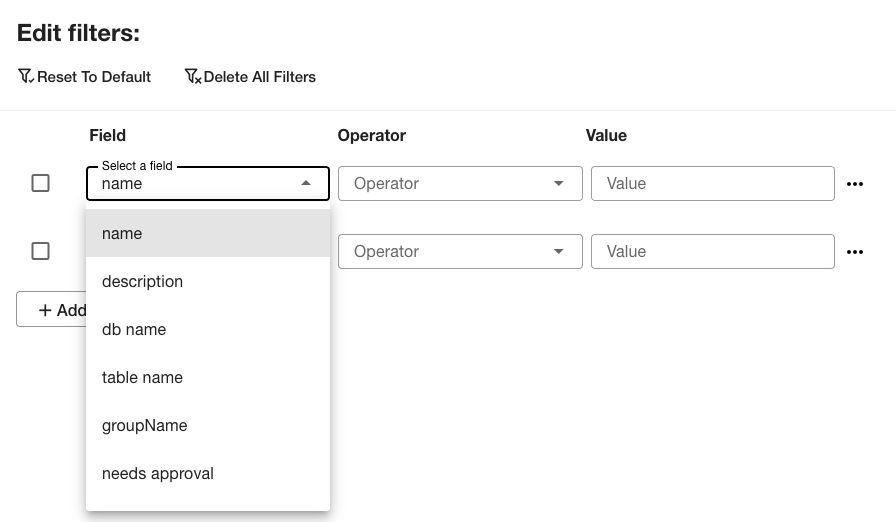
You can add multiple conditions by clicking + Add, and then applying the changes.
To remove an added field, click the three-dot menu on the right side of the field, then select Delete.
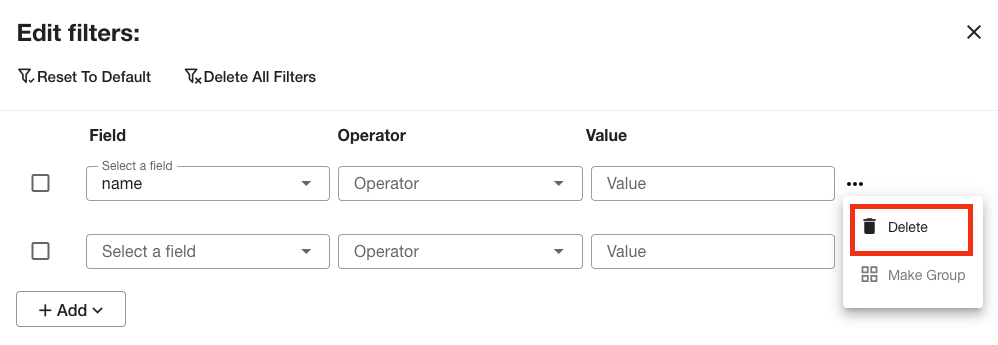
At the top of the panel, you will also find options to Reset to Default to start over, or Delete All Filters at once.
When you have finished configuring your filters, click Apply to update the user list.
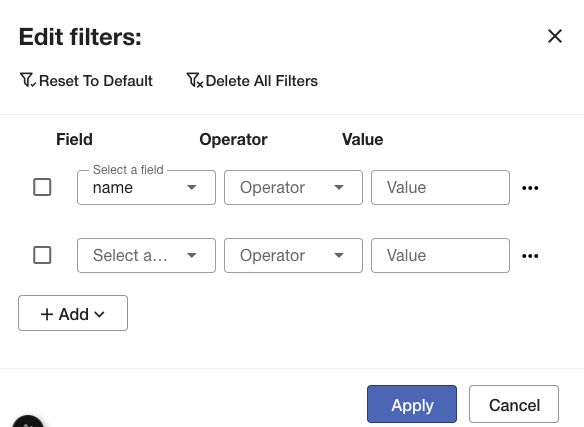
If you want to exit without applying changes, click Cancel to close the panel.
Customize List Table Columns
First, open the List Manager from the Sidebar or the Home card.
This option is available only in Grid View, so when you are in the List Manager, make sure you are not in Focused View.
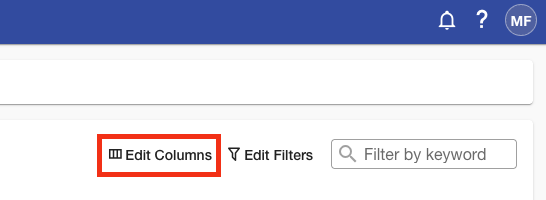
Go to the View Toolbar in the top-right corner of the Main Display and click Edit Columns to customize which attributes are shown in the table.
You will see a side menu toggle on the right side of the app.
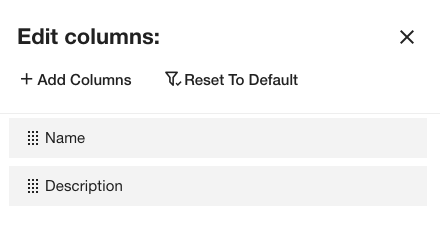
By default, only the name and description are visible.
Add more values
To add more values, click Add Columns and check the box next to the attributes you want to display. If you don’t see an attribute you are looking for, use the Search bar at the top of the panel. Once selected, click Add at the bottom (or Close to exit without changes).
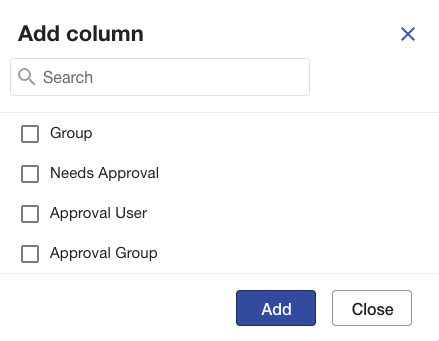
You can show or hide fields such as:
| Property | Description |
|---|---|
| name | A descriptive name of the list. |
| description | A short explanation or summary of what this list represents. |
| group | The group this list belongs to. |
| needs approval | Indicates whether this list requires approval when it or its contents are modified. |
| approval user | The user responsible for approving changes to this list. |
| approval group | The user group authorized to approve changes to this list. |
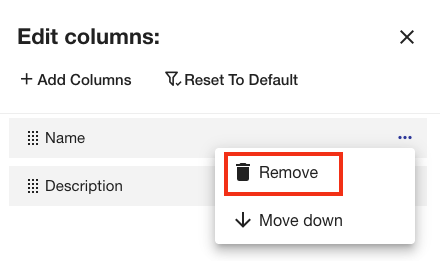
Hide a column
To hide a column, hover over the one you want to remove: a three-point menu will appear. Click on it and select Remove.
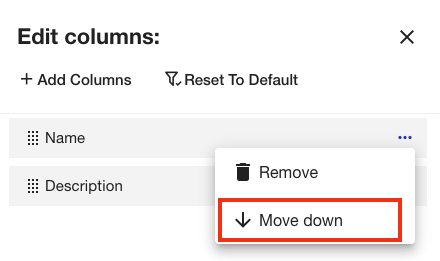
Reorder columns
You can reorder fields by dragging and dropping them, or by opening the three-point menu and choosing Move Up or Move Down.
When you finish, click Apply to update the table, or Cancel to discard your changes.
The option Reset to Default restores the original column layout.
Detailed View
If you want to see the details of a list, click on the name of the list you want to view.
For this action, we recommend using the Focused View.
However, the Grid View shows the same information.
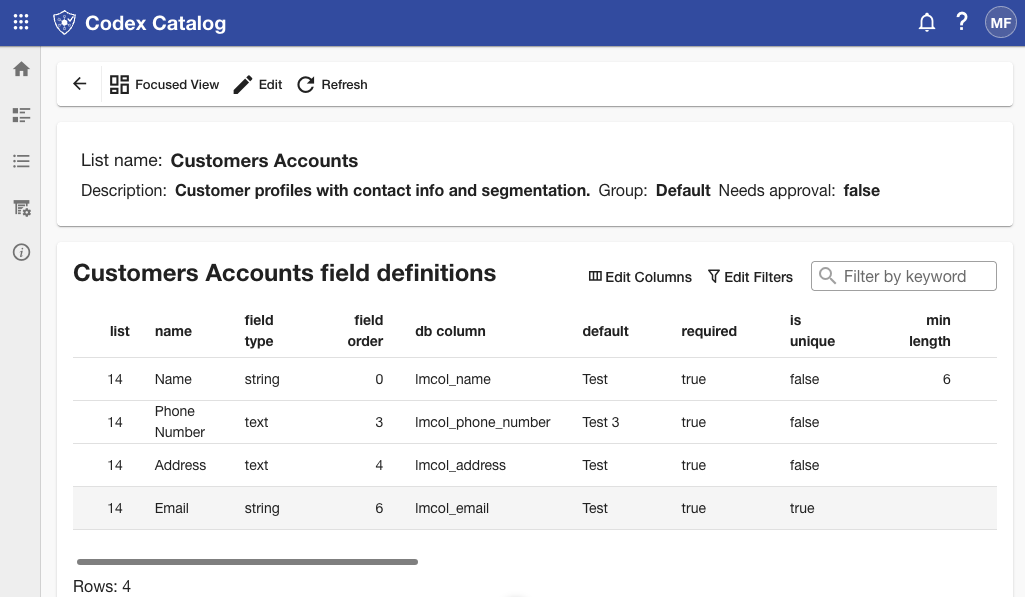
This page displays the Name, Description, Group and Need for Approval (true/false status only) of a single list, as well as a table with all the field definitions of said table.
Note: you can see more about list field in The Field Definitions or in Manage list fields
The Detailed View is intended for inspection purposes only and does not allow any edits.
Typical use cases for Detailed View:
- Quickly review a list’s metadata (name, group, approvals status).
- Audit the full definition of its fields with filtering/column controls.
- Jump into Edit (when permitted) to change metadata or manage fields.