View your users
If you are an Admin, the User Administration section allows you to see and manage all users in the system.
From here, you can browse the complete list of users, view detailed information about each account, sort and filter the user list, and customize which fields are displayed.
To access these options, open the Sidebar and select the User Administration option (represented by the shield icon).
If you are not an Admin, you do not have permission to access this section.
View all users
First, open User Administration from the Sidebar.
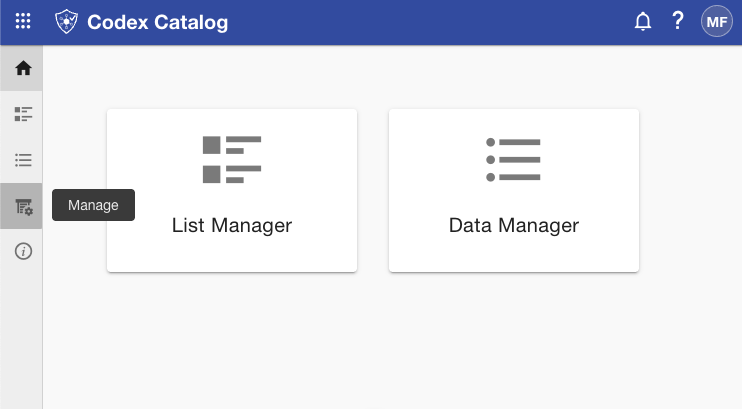
Access the user management menu by going to the sidebar and selecting "Manage" (fourth icon).
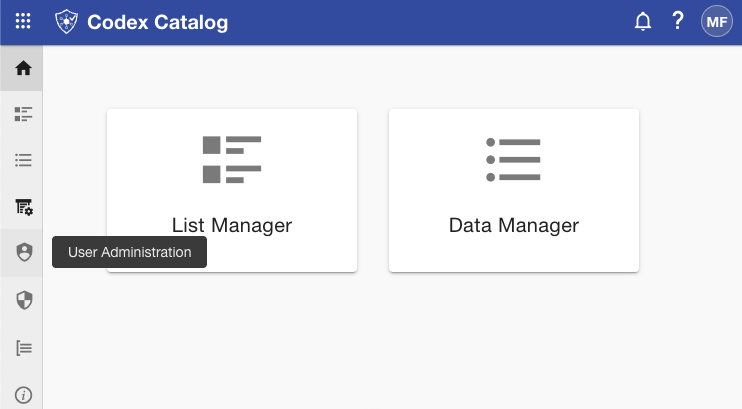
Then, click on "User Administration" (shield icon).
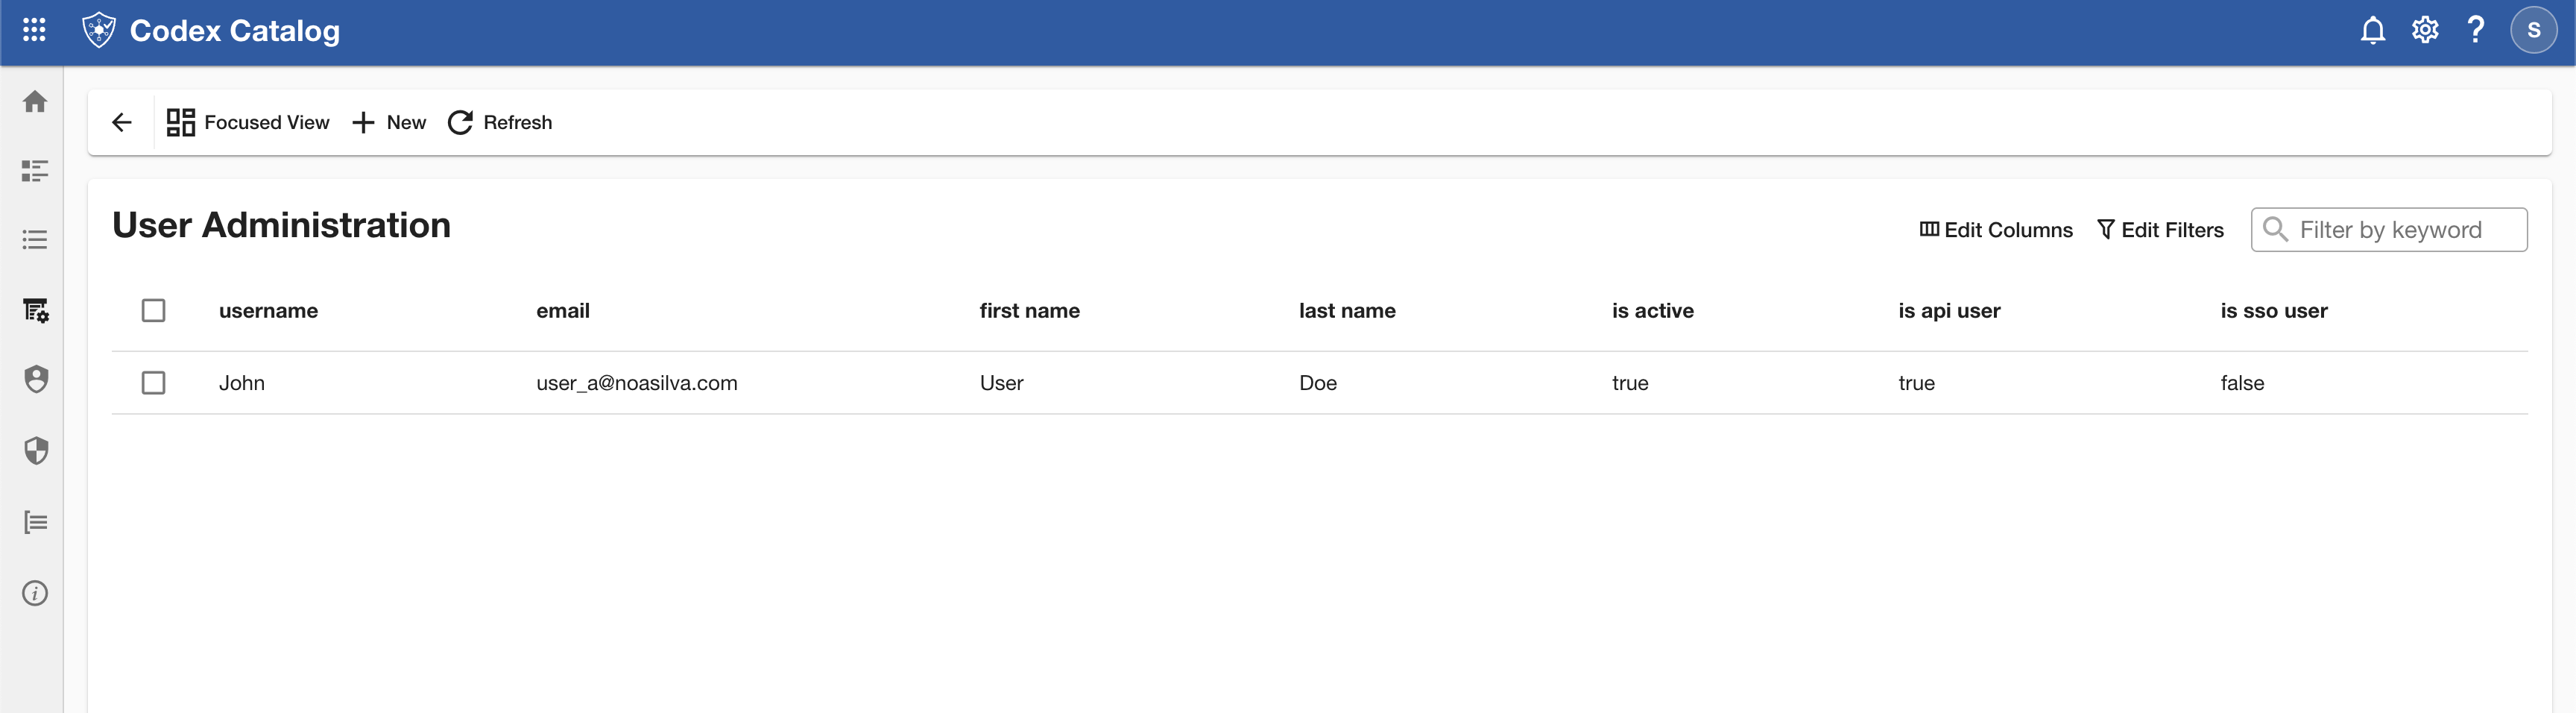
The recommended option is the Grid View, where you will see all of your users in a table with columns such as Username, Email, and Active Status (shown as is active).
View the details of a user
As an alternative, you can also use the Focused View. In this mode, the left sidebar displays the list of users, while the right pane shows the details only after you select one.
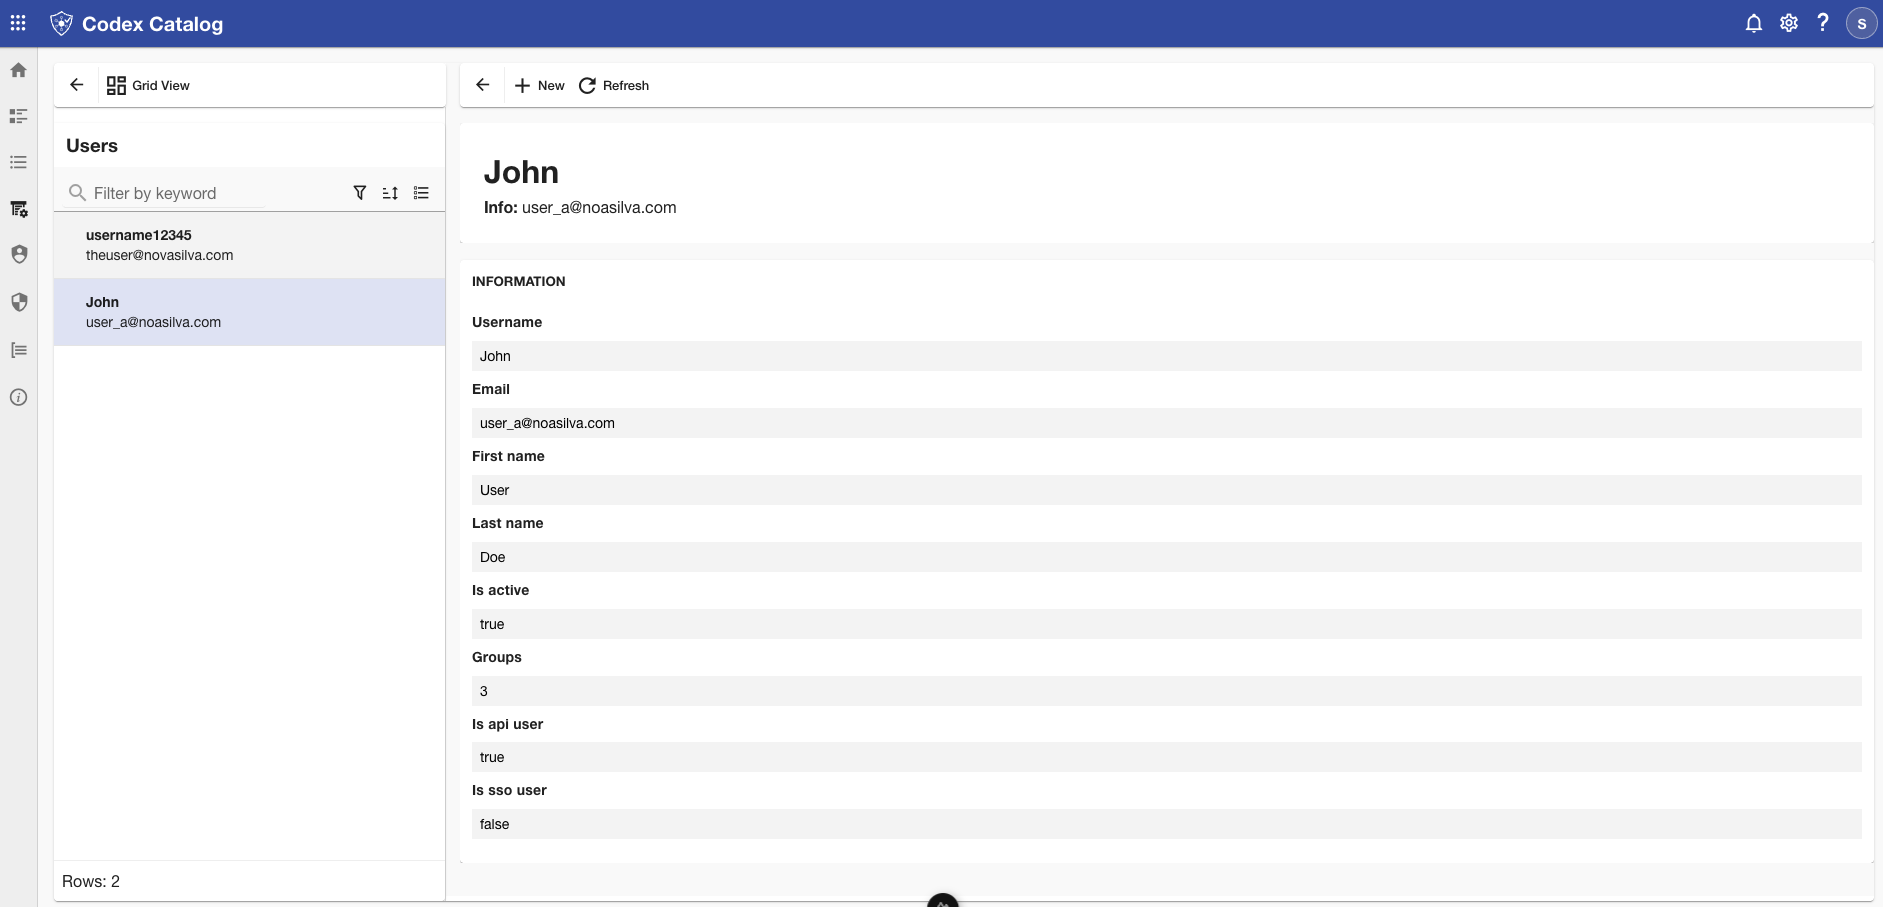
Switch to Focused View and select a user in the left pane.
The right pane will then display all details of the selected user, including Username, Email, and Active Status (shown as is active).
Sort your listed users
In Grid View, you can sort users by clicking the arrow icons on the column headers (e.g., Username, Email, Active Status).
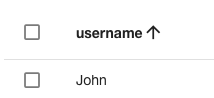
This allows you to quickly organize the table in ascending or descending order.
In Focused View, sort options apply to the user list in the left pane, helping you arrange how users are displayed before selecting one to view their details.
Search a user by keyword
You can quickly find a specific user in the User Administration section by entering a keyword into the Search bar. This is useful when you know part of the username or email address and want to locate the user without browsing through the entire list.
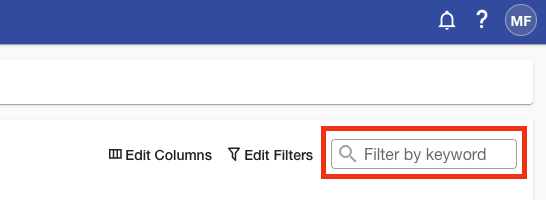
In Grid View, the search applies across all visible columns (e.g., Username, Email).
In Focused View, the search applies to the list of users in the left pane.
Filter your users
Filters allow you to narrow down the list of users based on the value of specific fields.
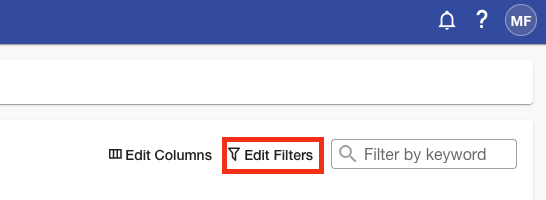
In the User Administration section, In Grid View, go to the View Toolbar in the top-right corner of the Main View and click Edit Filters.
This will open the Edit Filters: User Administration panel on the right side of the screen.
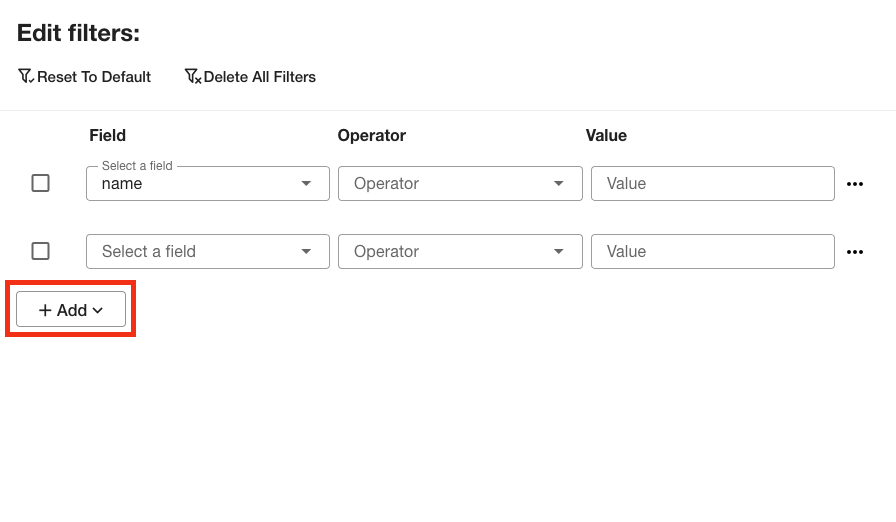
Here you can:
- Select a Field (e.g., Username, Email, Active Status).
- Choose an Operator (e.g., equals / not equals, contains / not contains, begin with / not begin with).
- Enter a Value to filter by.
You can add multiple conditions by clicking + Add, and then apply or remove them as needed.
At the top of the panel, you will also find options to Reset to Default to start over, or Delete All Filters at once.
When you have finished configuring your filters, click Apply to update the user list.
If you want to exit without applying changes, click Cancel to close the panel.
In Focused View, filters apply to the user list in the top of the left pane, allowing you to narrow down which users are displayed.
Customize User Table Columns
Open User Administration from the Sidebar. This option is available only in Grid View, so make sure you are not in Focused View.
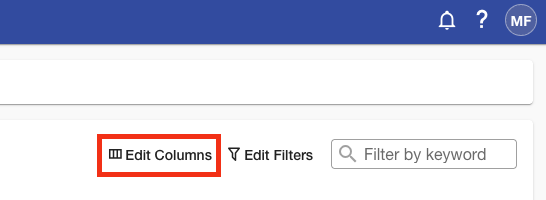
Go to the View Toolbar in the top-right corner of the Main View and click Edit Columns to customize which attributes are displayed in the table.
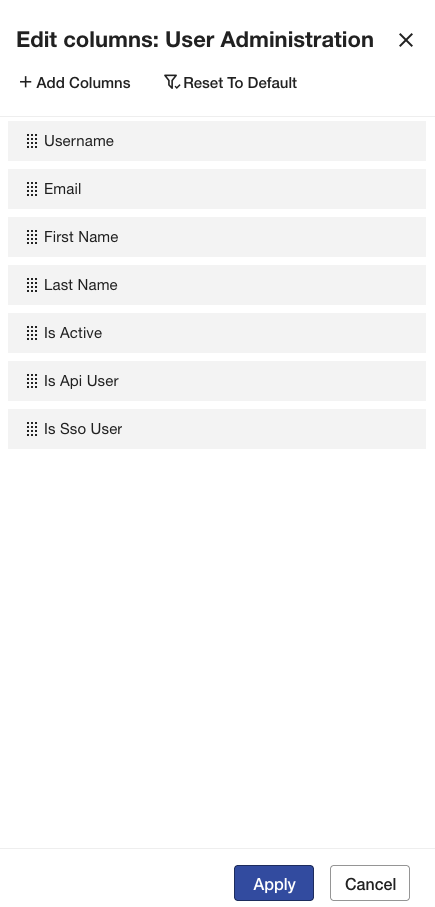
From the Edit Columns: User Administration panel, you can show or hide fields such as:
- Username
- First Name
- Last Name
- Is Active
- Is API User
- Is SSO User
By default, all available fields are visible. To hide a field, hover over the one you want to remove: a three-point menu will appear. Click on it and select Remove.
To add hidden values, click Add Columns and check the box next to the attributes you want to display.
If you don’t see any attribute you are looking for, use the Search bar at the top of the panel. Once selected, click Add at the bottom (or Close to exit without changes).
You can reorder fields by dragging and dropping them, or by opening the three-point menu and choosing Move Up or Move Down.
When you finish, click Apply to update the table, or Cancel to discard your changes.
The option Reset to Default restores the original column layout, hiding all fields.