Create a list
You can create a new list from the List Manager.
When you create a list, you automatically become its owner.
There are two ways to create a list:
- Create a new list — start from scratch with an empty list.
- Create a list based on an existing list — use another list as a template, copying its fields and structure.
Option A - Create a new empty list
A.1. Define the empty list
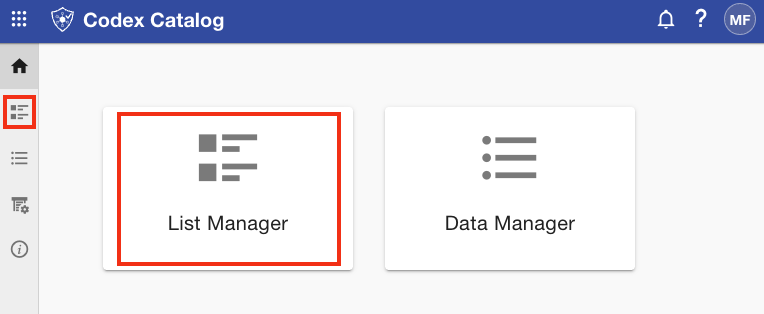
- Open the List Manager from the Sidebar or the Home card.
-
Click the + New button in the Page Toolbar (available in both Grid and Focused View). Then, select Create new list.
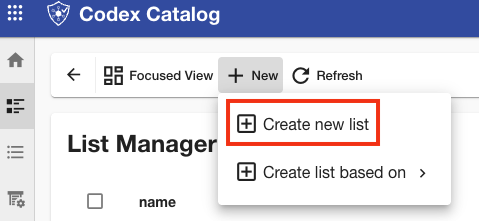
-
Fill in the header information:
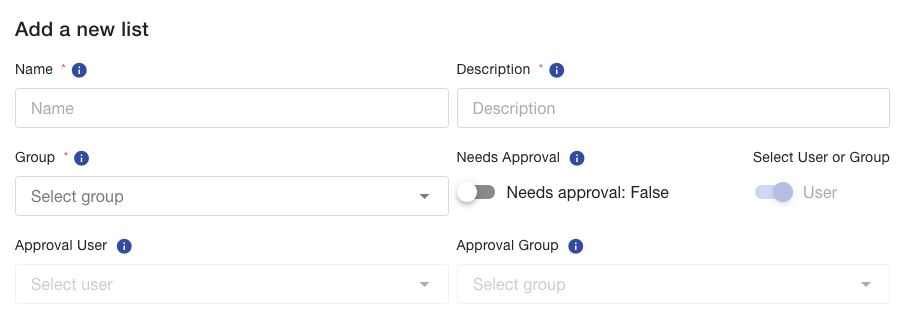
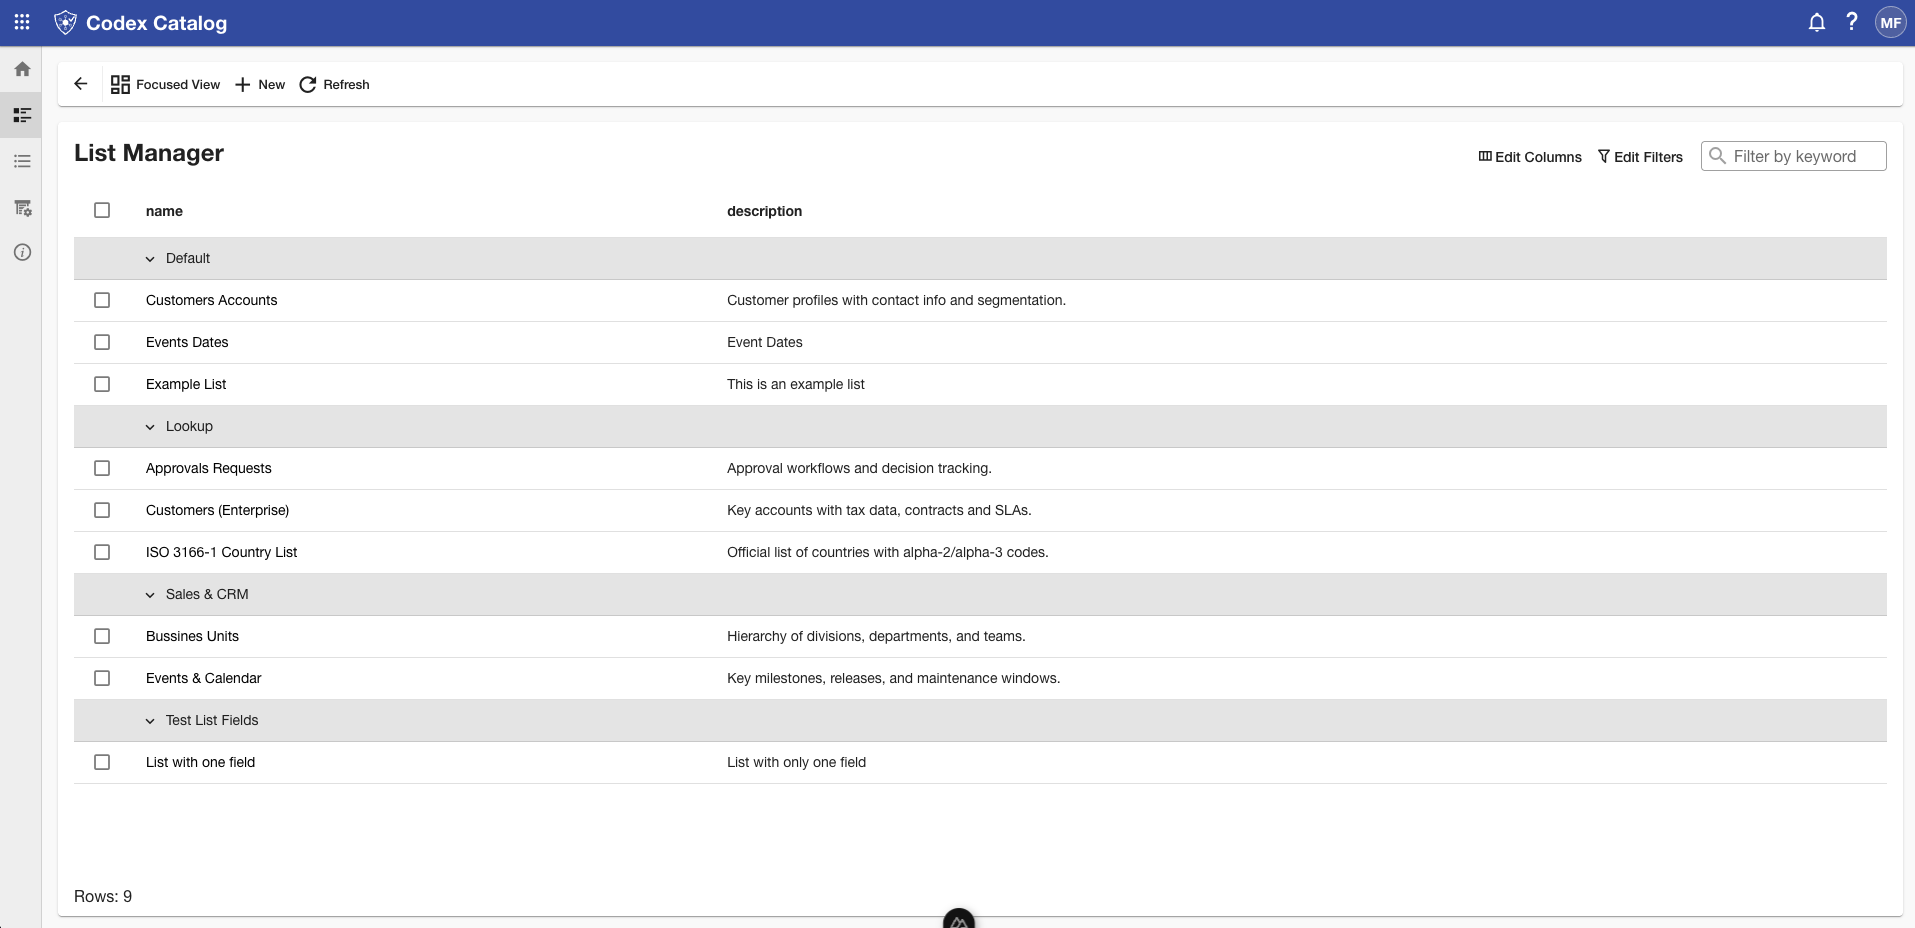
Here is a table with all the fields.
Header Field Input Type Description Name Text Descriptive name displayed in tables and navigation. Must contain at least 3 characters. Description Text Short summary of the list’s purpose. Group Dropdown Logical grouping for organizational purposes (e.g., Standard Lists). Needs Approval Toggle Turn On if records in this list require approval.
If a list was created with this option deactivated, it cannot be enabled later.Select User or Group Toggle Available only when Needs Approval is enabled.
Choose User if approvals are handled by a specific user, or Group if approvals are managed by a user group.Approval User Dropdown Visible only when Needs Approval is enabled and Select User or Group is set to User.
Select, from the dropdown, the user responsible for approving changes to this list.Approval Group Dropdown Visible only when Needs Approval is enabled and Select User or Group is set to Group.
Select, from the dropdown, the group responsible for approving changes to this list.Fields marked with a red asterisk (*) are mandatory.
To view more information about a field, hover over the information icon (i) next to it — a tooltip will appear displaying additional details.

A.2. Define the list fields
List fields represent the individual data attributes or columns that define the structure of the list (for example, Name, Country Code, or Active Status).
At least one field is required to save the list.
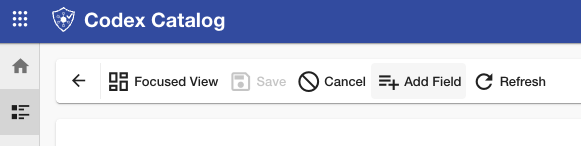
To add a new field, click on "Add Field" and fill the pertinent information.
If you need more details about how to create, edit and delete fields, go to MANAGE LISTS > Manage List Fields in this guide.
A.3. Save or Cancel the creation
If any required information is missing (e.g., Table Name, Approver when Needs Approval is On, or no fields), the form blocks the "Save" Option.

The missing fields will be highlighted in the form.

If all required fields are completed:
- Click Save to create the list. After saving, the application returns to Grid View or Focused View for the new list, showing its summary and if in Focused View, the fields you defined.
- If you want to stop the creation of the list, click Cancel on the Page Toolbar.

Option B — Create list based on an existing list
-
Open the List Manager from the Sidebar or the Home card.
2. Click the + New button in the Page Toolbar. Then, select Create list based on and select an existing list.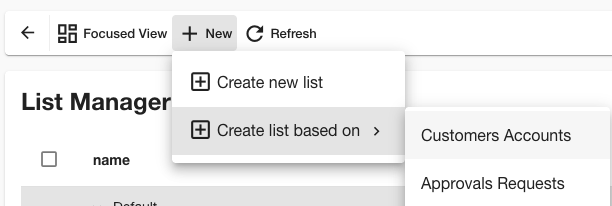
-
Fill in and review the header information, knowing that:
- Header values (e.g., Name, Description, Group, Needs Approval) get copied from the base list. They should be reviewed and completed—adjust them to fit the new list.
- The Fields section is fully pre-populated with all fields from the selected source list, preserving names, types, order, and constraints (default/required/unique/limits, etc.).
- Review and adjust:
- Remove fields you don’t need, add new ones, or reorder them.
- Check constraints like Is Unique, Min/Max, and Trim Whitespace so they make sense for the new context.
- Decide whether Needs Approval should be On or Off. If set to On, select Approval User/Group.
-
Save or Cancel a list from a template. The same validation rules apply: the form requires all mandatory data and at least one field before you can save.
Best practices
- Use a clear Name and Description so others immediately understand the list’s purpose.
- Keep group related lists under the same Group (e.g., Standard Lists).
- When cloning from another list, audit the inherited fields, especially uniqueness and length/value constraints—to avoid unintentional restrictions.
- If approvals are rare, leave Needs Approval off; enable it only when a review workflow is truly required and assign the proper Approval User/Group.