Manage List Fields
No matter whether you are creating or editing a list, you can manage its fields at any time.
When you create a new list, it is mandatory to define at least one field for it.
The field management options are available for any list within the List Manager, which you can access from the Home menu or the Sidebar.
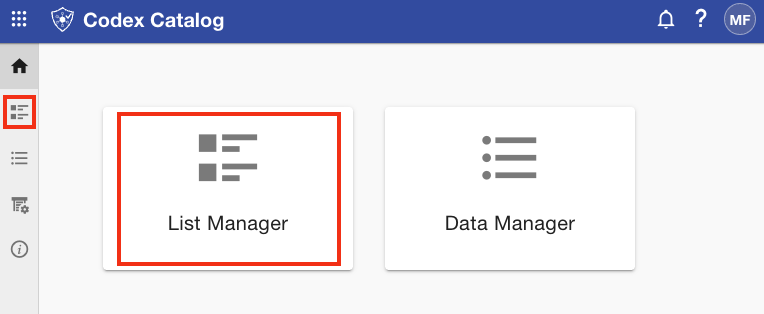
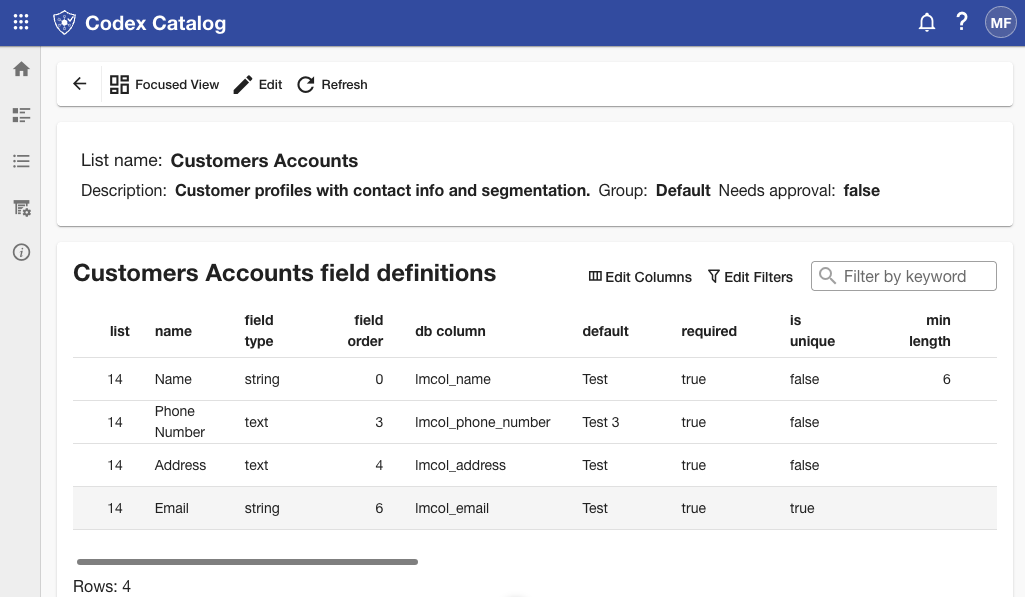
Once in the List Manager, select the list whose fields you want to manage to see its details.
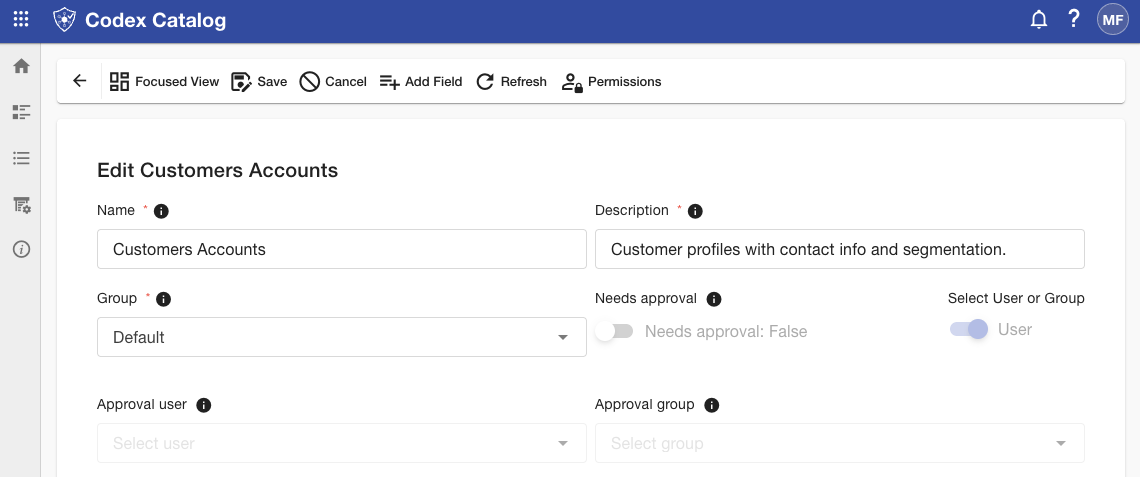
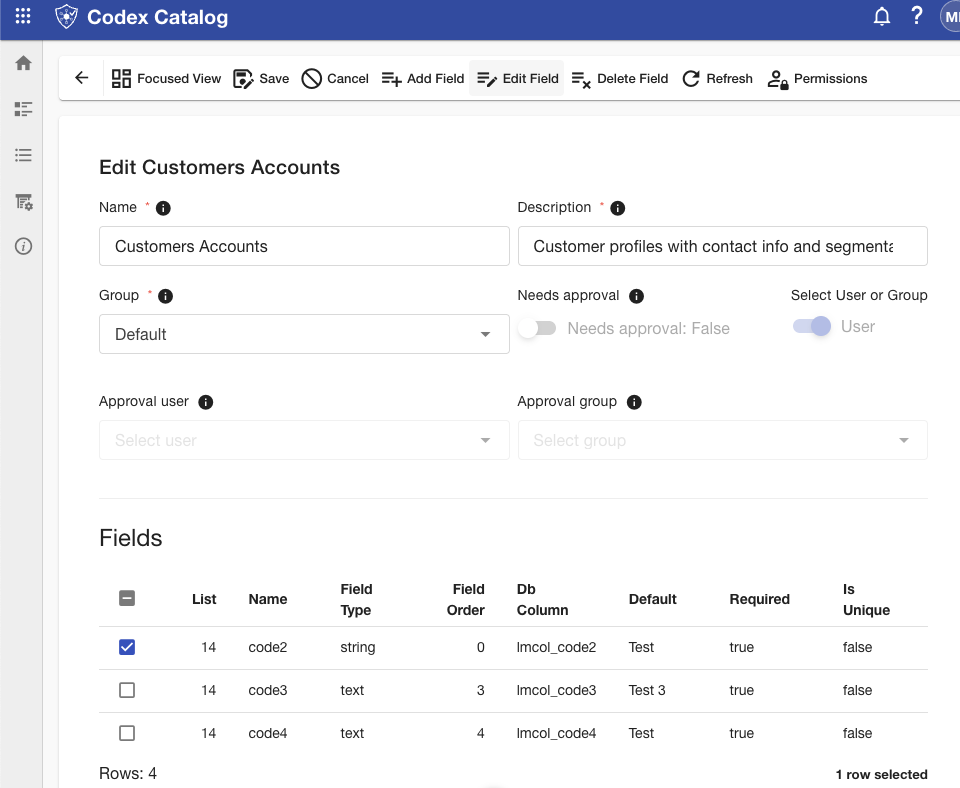
Then, enter the edit mode by clicking on Edit.
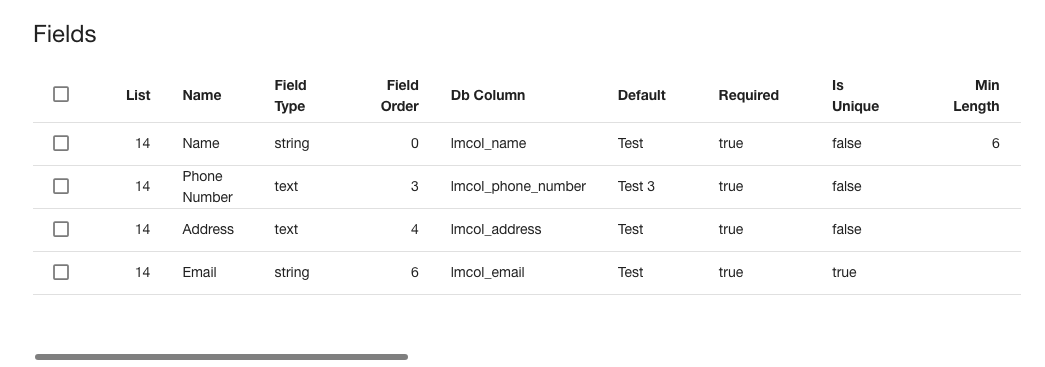
Fields will appear below the main information. You should see a table displaying all existing fields with a checkbox next to each field.
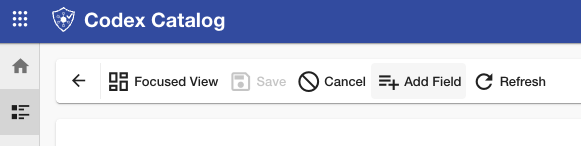
Although not always visible, the options to create, edit, and delete fields are located in the Page Toolbar.
All field definitions
These are all the available Fields and their definitions:
| Attribute | Input type | Description |
|---|---|---|
| List | Number | The numeric identifier of the list where this field belongs. |
| Name | Text | The display name of the field. |
| Field type | Text | The data type of the field. Possible values include: • integer / big integer • numeric (decimal) • string / text • boolean (true or false value) • date / date-time / date-time-tz • reference |
| Field order | Number | The position of the field in the list (e.g., 1, 2, 3…). Must be unique within the list. |
| Is key | Boolean (True/False) | Indicates whether this field is the primary identifier of the records. A key must be Required and Unique. |
| Default | Same as "Field type" | (Optional) Initial value used when no value is provided. |
| Required | Boolean (True/False) | If enabled, the field must always contain a value. |
| Is unique | Boolean (True/False) | Ensures all values for this field are unique within the list. |
| Created by | Text (email format) | Stores the user email who created the record. |
| Updated by | Text (email format) | Stores the user email who last modified the record. |
| Min/Max length | Number | Minimum and maximum allowed number of characters. |
| Min/Max value | Number | Numeric lower and upper bounds for the value. |
| Trim whitespace | Boolean (True/False) | Removes leading and trailing spaces automatically. |
| Max digits | Number | Maximum total digits allowed (including decimals). |
| Decimal places | Number | Number of digits allowed after the decimal point. |
| Created at | Date | Stores the record creation timestamp. |
| Updated at | Date | Stores the record last modification timestamp. |
| Reference list | Reference | The target list that this field links to. |
| Reference display | Reference | Field from the target list shown to users. |
| Reference value | Reference | Field from the target list whose value is stored (the actual key). |
Create a field
The first step is to open the List Manager.
- To add a field to a new list, click + New on the Page Toolbar.
- To add a field to an existing list (available in Grid View only), click Edit on the Page Toolbar.
Regardless of your flow, both actions will lead you to the same screen.
Once in the list edit mode, you will see an option called Add Field in the Page Toolbar.
You will need to set the following fields:
- Name
- Field type
- Field order
- Is key
- Default
- Required
- Is unique
Additional type-specific inputs will appear automatically after you select a Field type.
Click Create to add the field to the table.
The list itself is not saved until you click Save on the form.
Edit a field
In Grid View only, select the desired list in the List Manager, then click Edit on the Page Toolbar.
In the Fields table, select the field row you want to edit. The Edit Field option becomes available on the Page Toolbar when exactly one field is selected.
A modal window will opens with all inputs pre-filled with the current values, allowing you to modify any property.
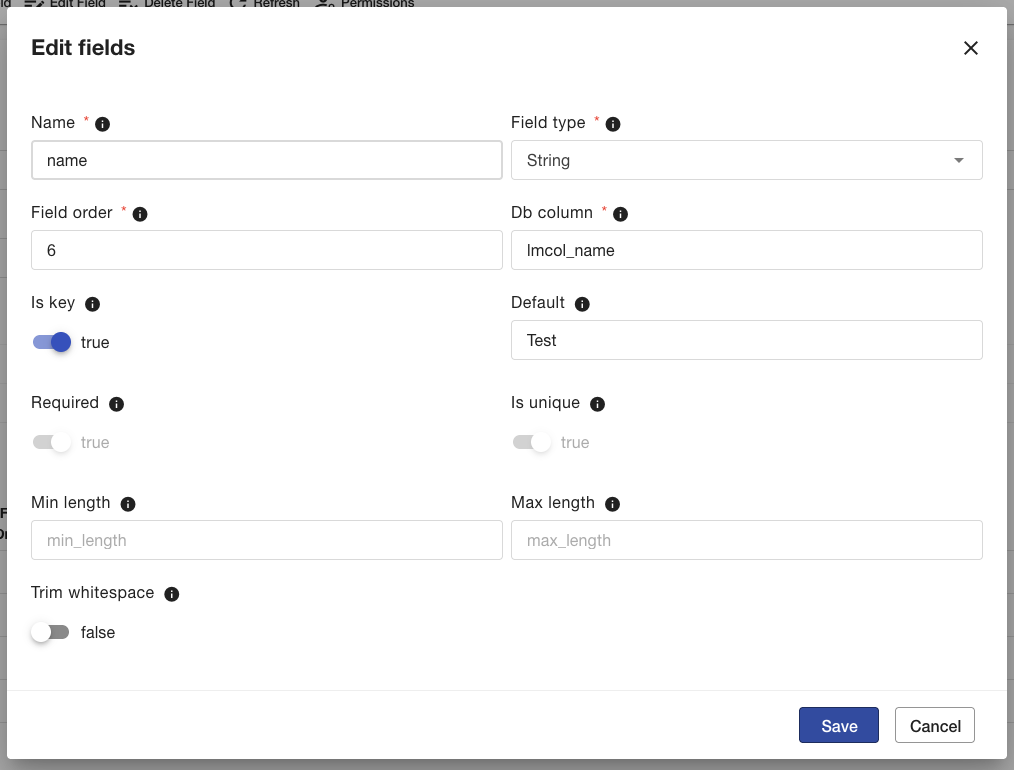
Important notes:
- When the Is key value is enabled, it is not possible to disable the Required or Is unique values, since a key field must always be both required and unique.
- If you disable the Is key setting (or assign a different key field), a confirmation dialog will appear warning you that changing the key field will clear all existing data, and the list will become empty. Click OK to confirm this action, or Cancel to keep the current key field.
- The Field type can only be changed to an equivalent type that supports the existing data (for example, a String field can be changed to a Text field, but not to a Date field).
After editing the desired field, click Save in the modal to apply your changes.
Then, click Save again in the Page Toolbar of the list editing view to persist the updated list.
If you do not want to save your changes, click Cancel instead.
Delete one or more fields
In Grid View only, select the desired list in the List Manager, then click Edit on the Page Toolbar.
In the Fields table, select the field row you want to delete. The Delete Field option becomes visible when one or more rows are selected.
Click Delete Field. Then, click Confirm to proceed, or Cancel to abort.
If the list has no records, deletion proceeds without this extra warning dialog.
Remember:
- proceeding removes the field definition and permanently deletes all values stored in that column.
- you can not delete a value with the Is Key value on.
View all fields
In Grid View only, select the desired list in the List Manager, then click Edit on the Page Toolbar. You can see all fields displayed in a table.