Import Data Records
How to import data
-
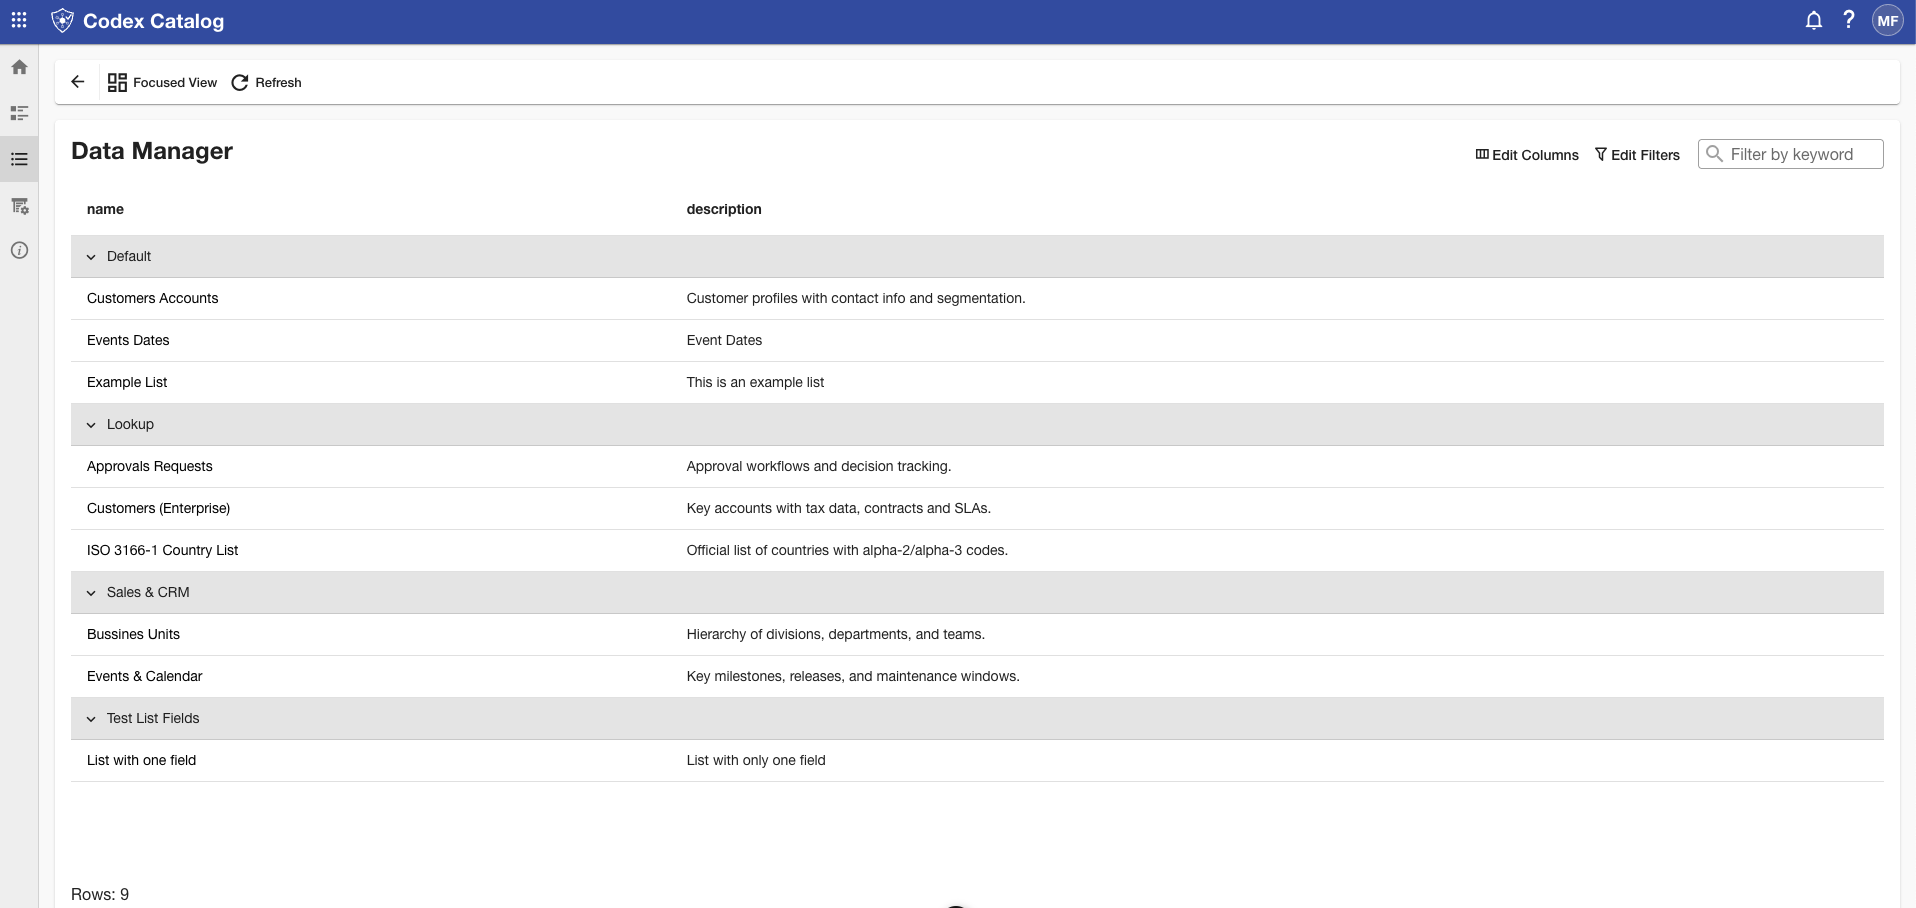
Go to the Data Manager either from the Home card or from the Page Toolbar.
-
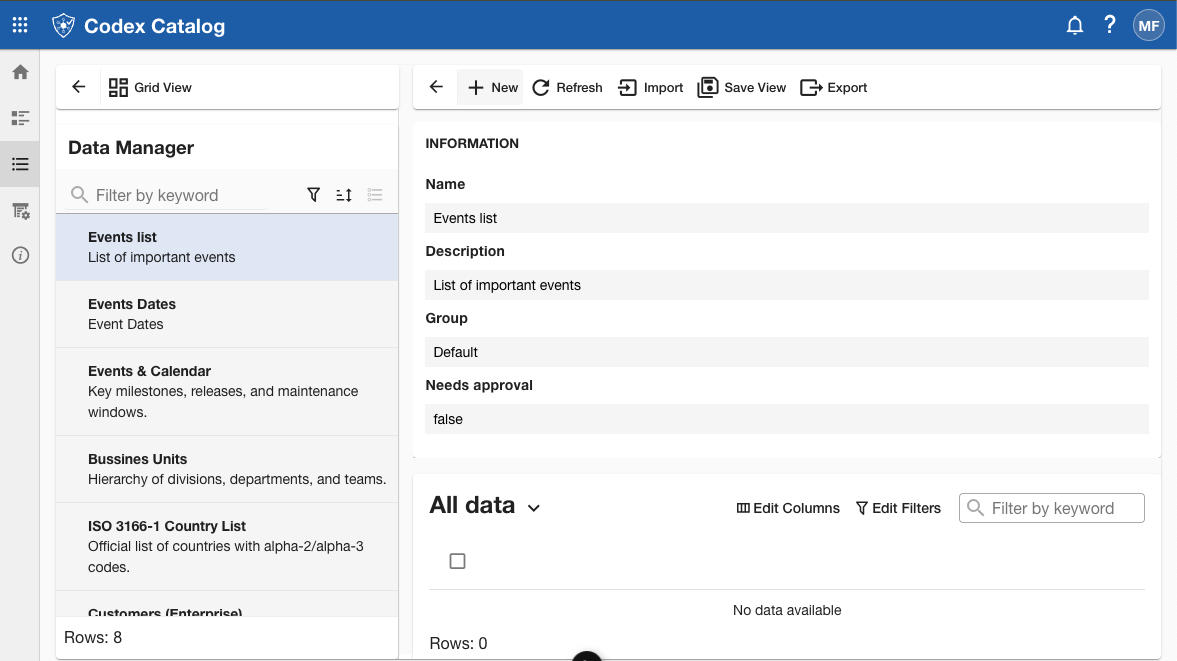
In Focused View, click Import.
-
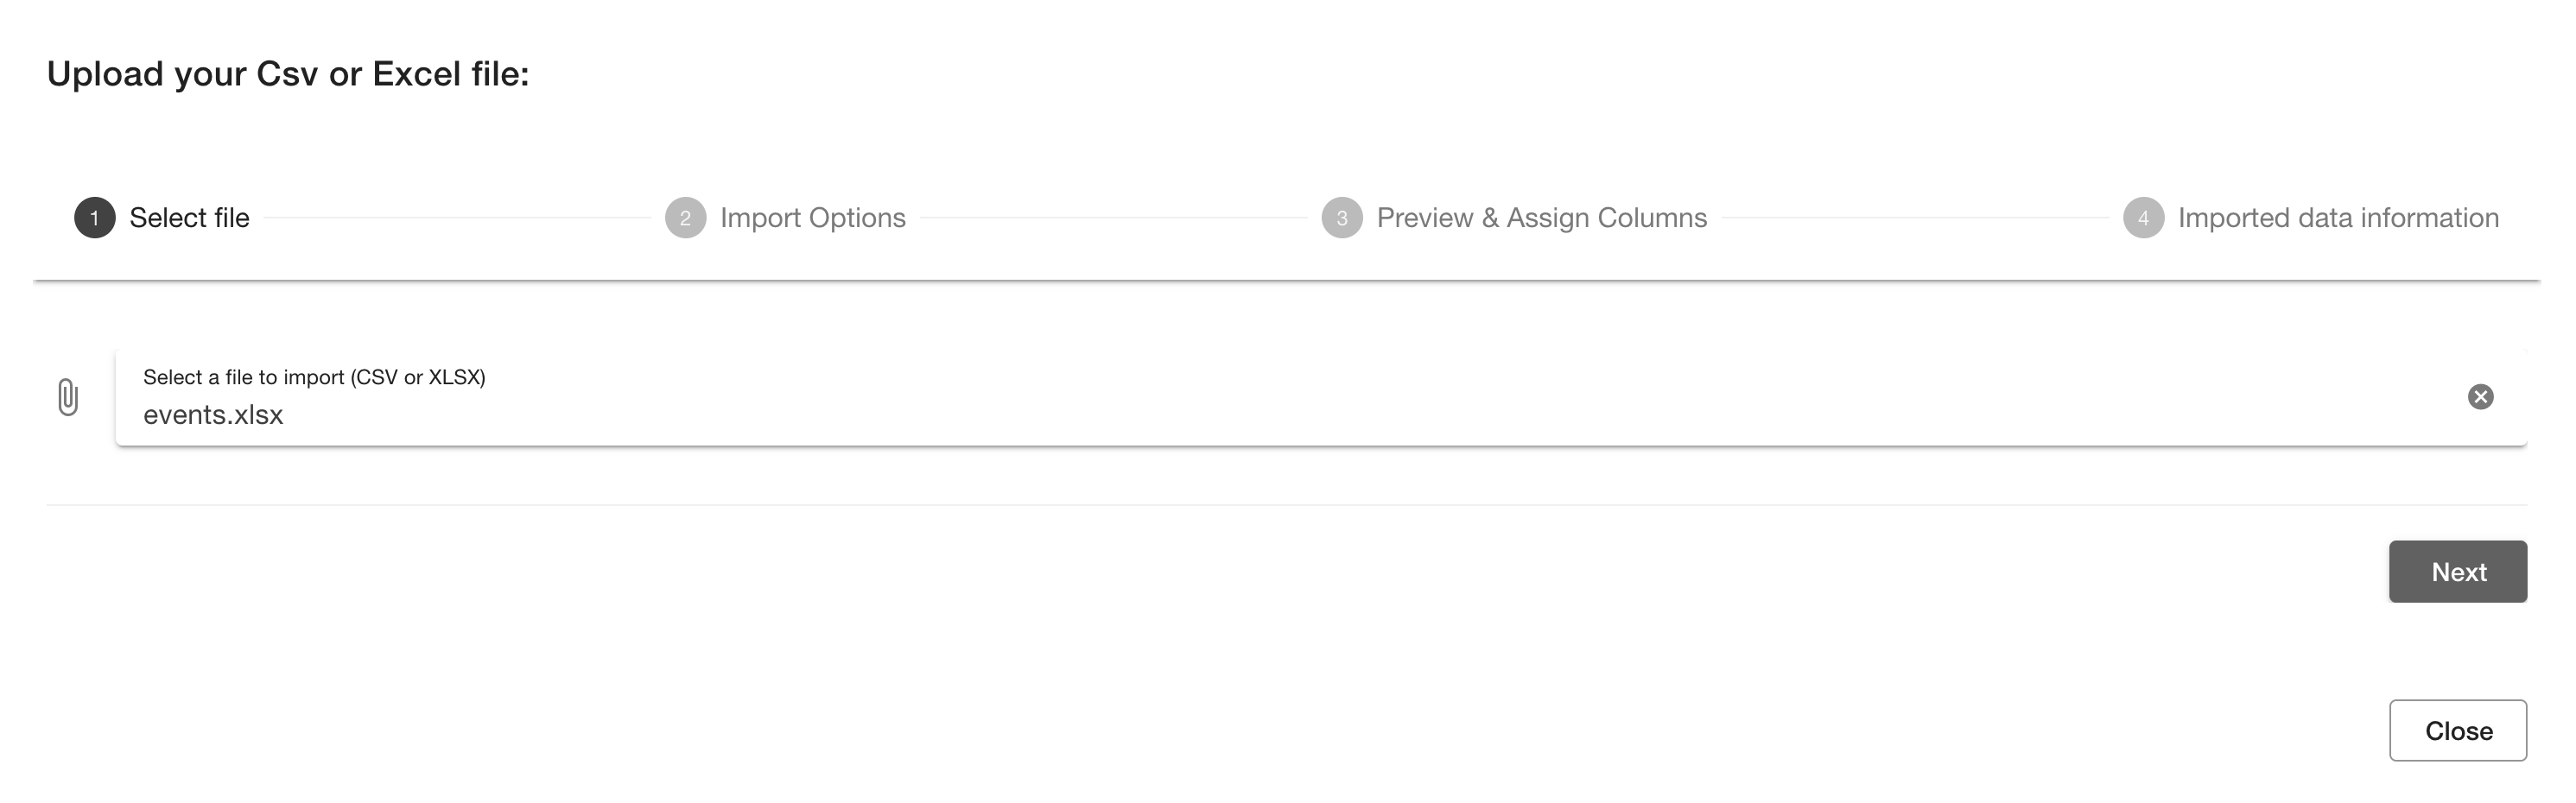
Select the CSV or Excel file to upload.
-
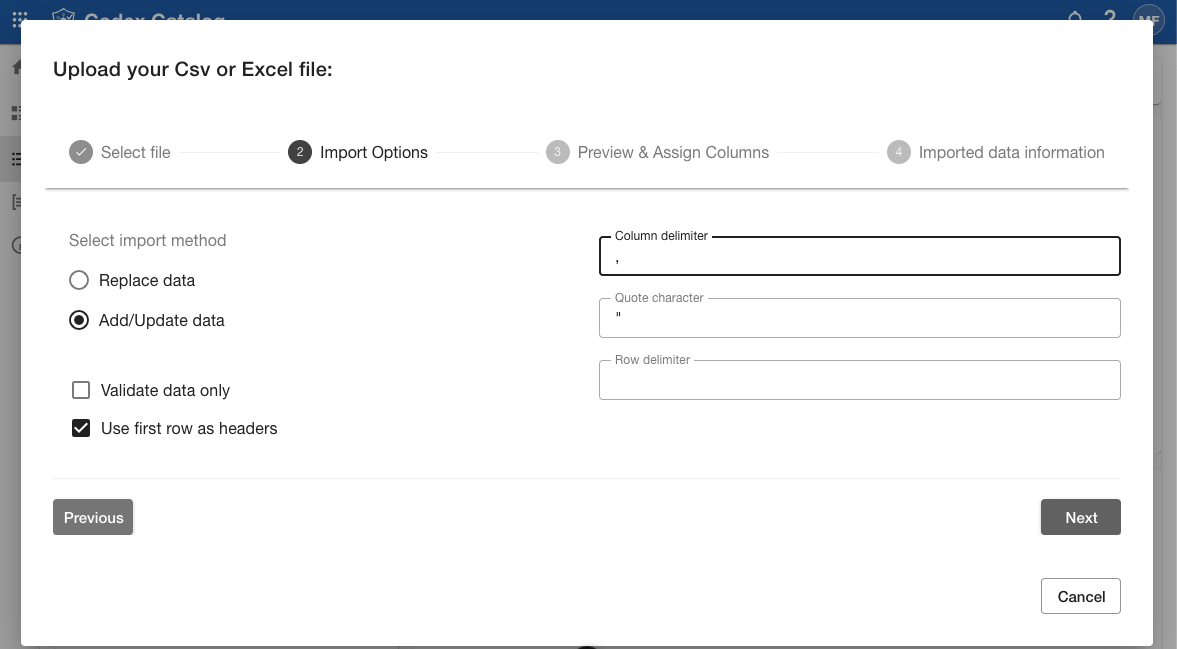
Configure the import options:
- Import method: Choose Replace data (overwrite all records) or Add/Update data (append and update records).
- Headers: Choose whether to use the first row of your file as headers.
- Delimiters: Depending of the format of your file, the screen might ask you to define the columns, quotes and rows delimiters. This option might not appear if there is no need to use delimiters for the data.
- Validation: Run a validation to check for errors before importing.
-
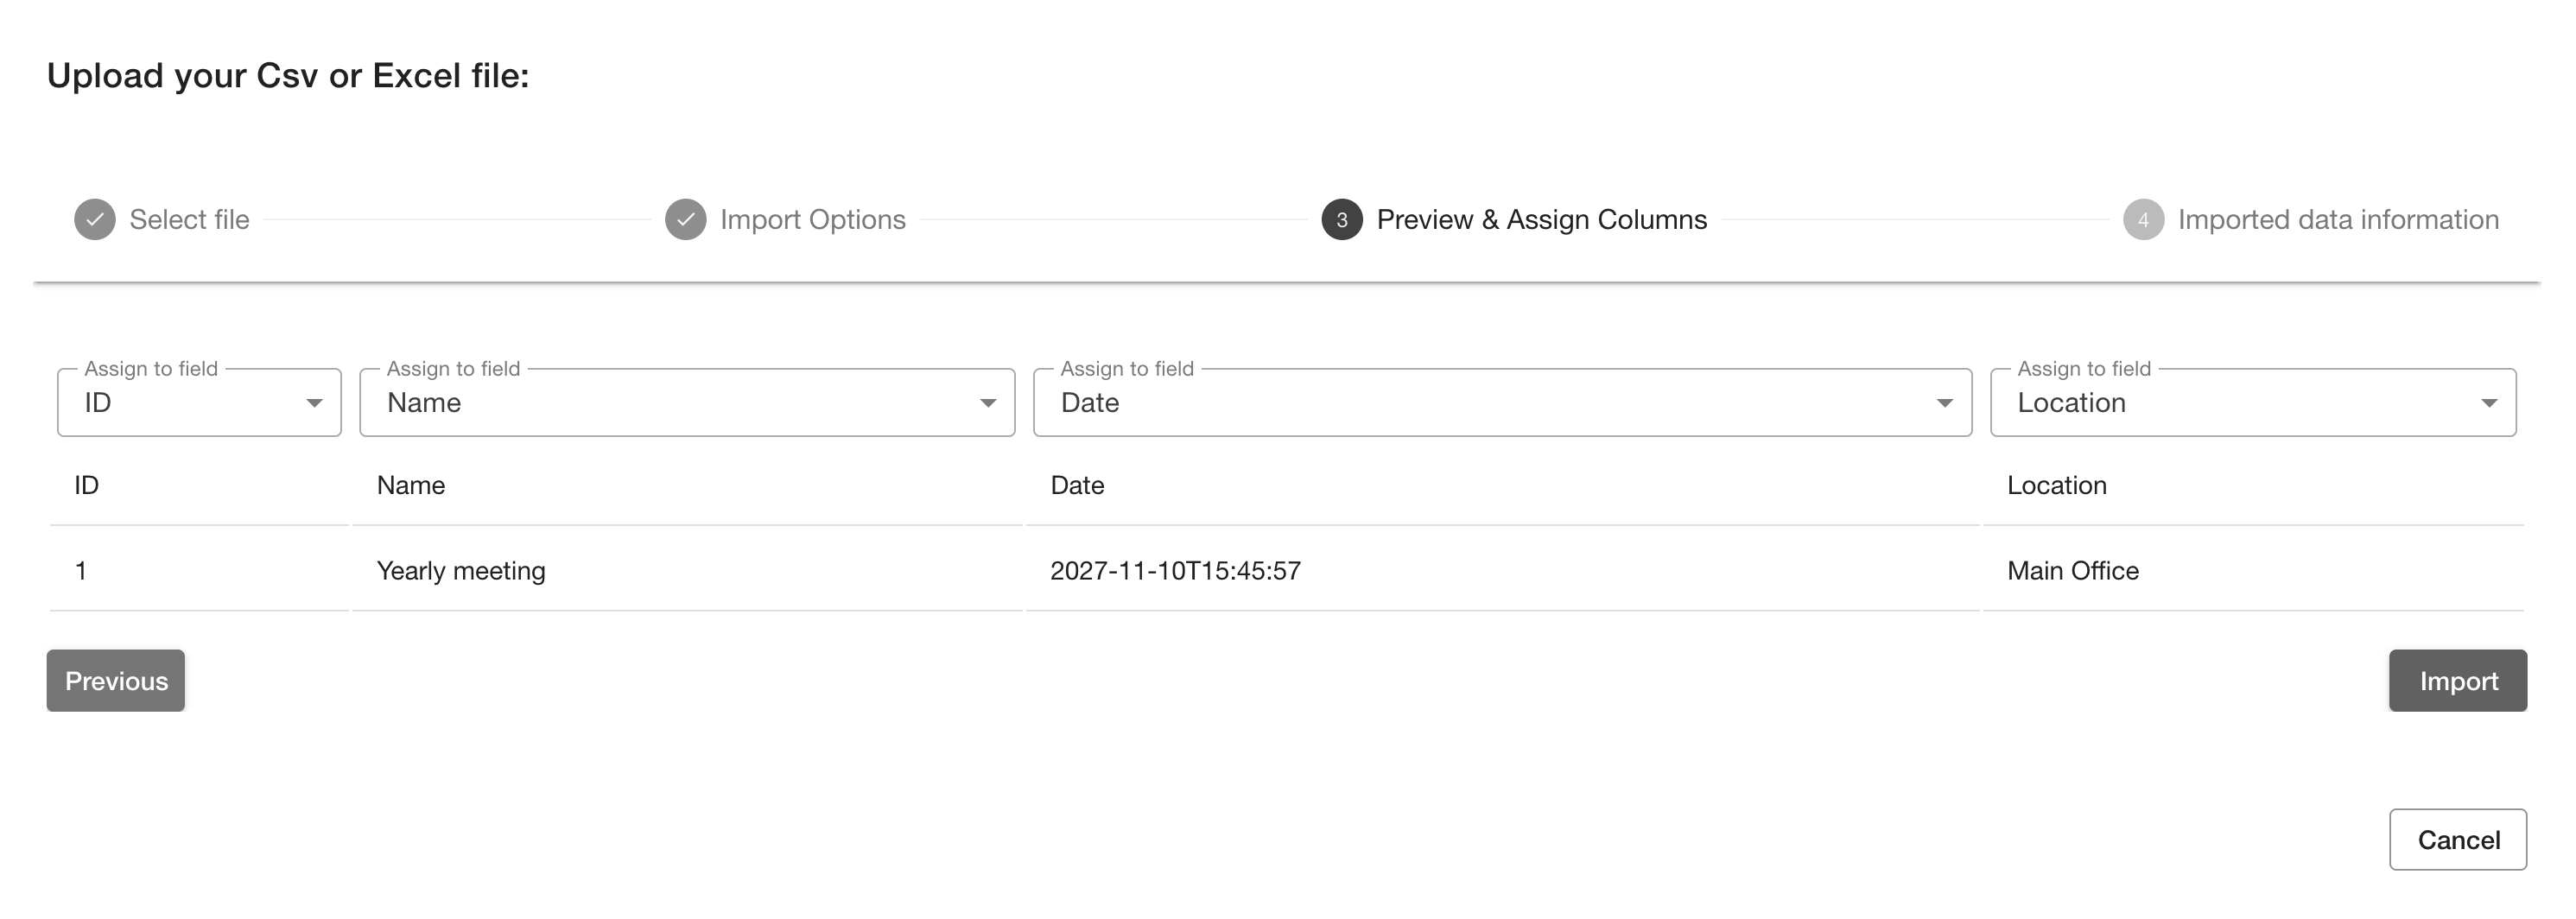
Use the Preview & Assign Columns step to map your file’s columns to the fields in the list.
-
Click Import to confirm and load the data.
What happens when importing records
- Records are created or updated depending on the chosen method.
- A summary shows how many records were added, updated, skipped, or failed validation.
- If errors are detected, the system provides details so you can correct them and retry.
Tip: Use Validate only to check for issues before committing changes.