Manage user groups
You can manage user groups directly from the application interface.
This functionality is available only when Single Sign-On (SSO) is disabled, since otherwise the groups are managed externally in Microsoft Entra.
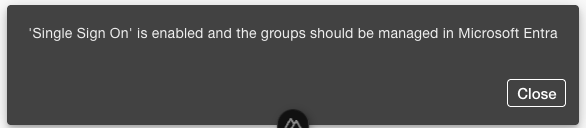
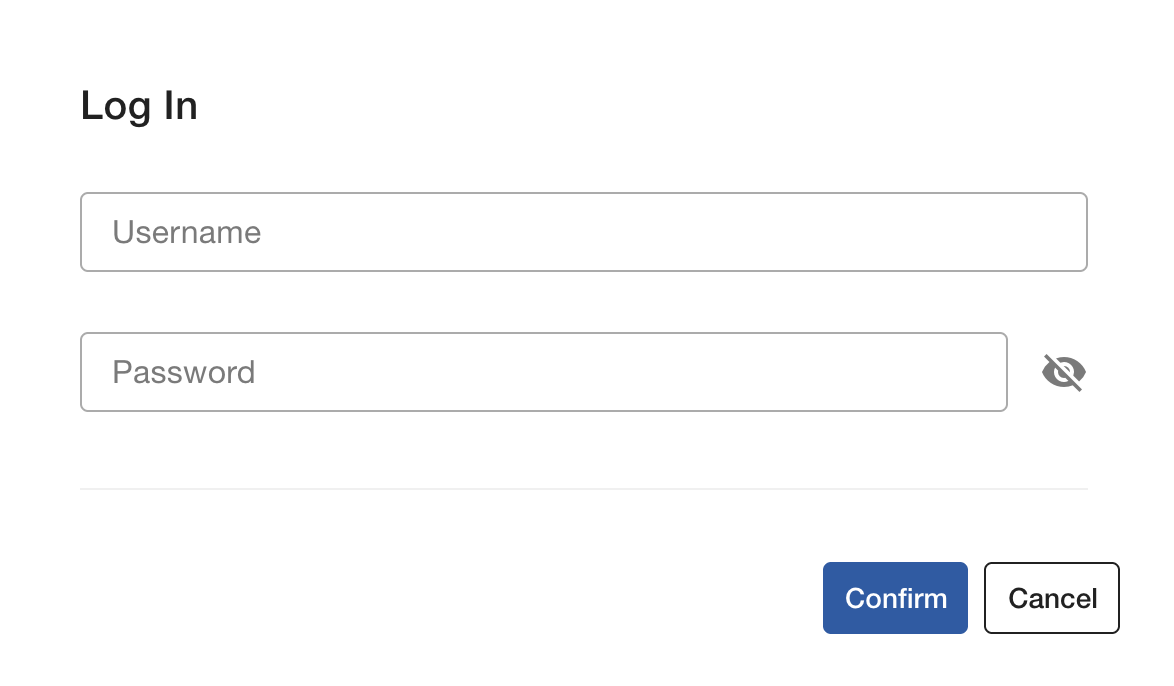
This means you need to log in using a username and password instead of your Microsoft Account.
Who can edit user groups?
Administrators and Managers have the ability to create, edit, and delete user groups.
While Administrators have full control over all group settings and user management, Managers can organize and maintain groups related to their assigned lists and projects.
Standard Users do not have permissions to manage groups.
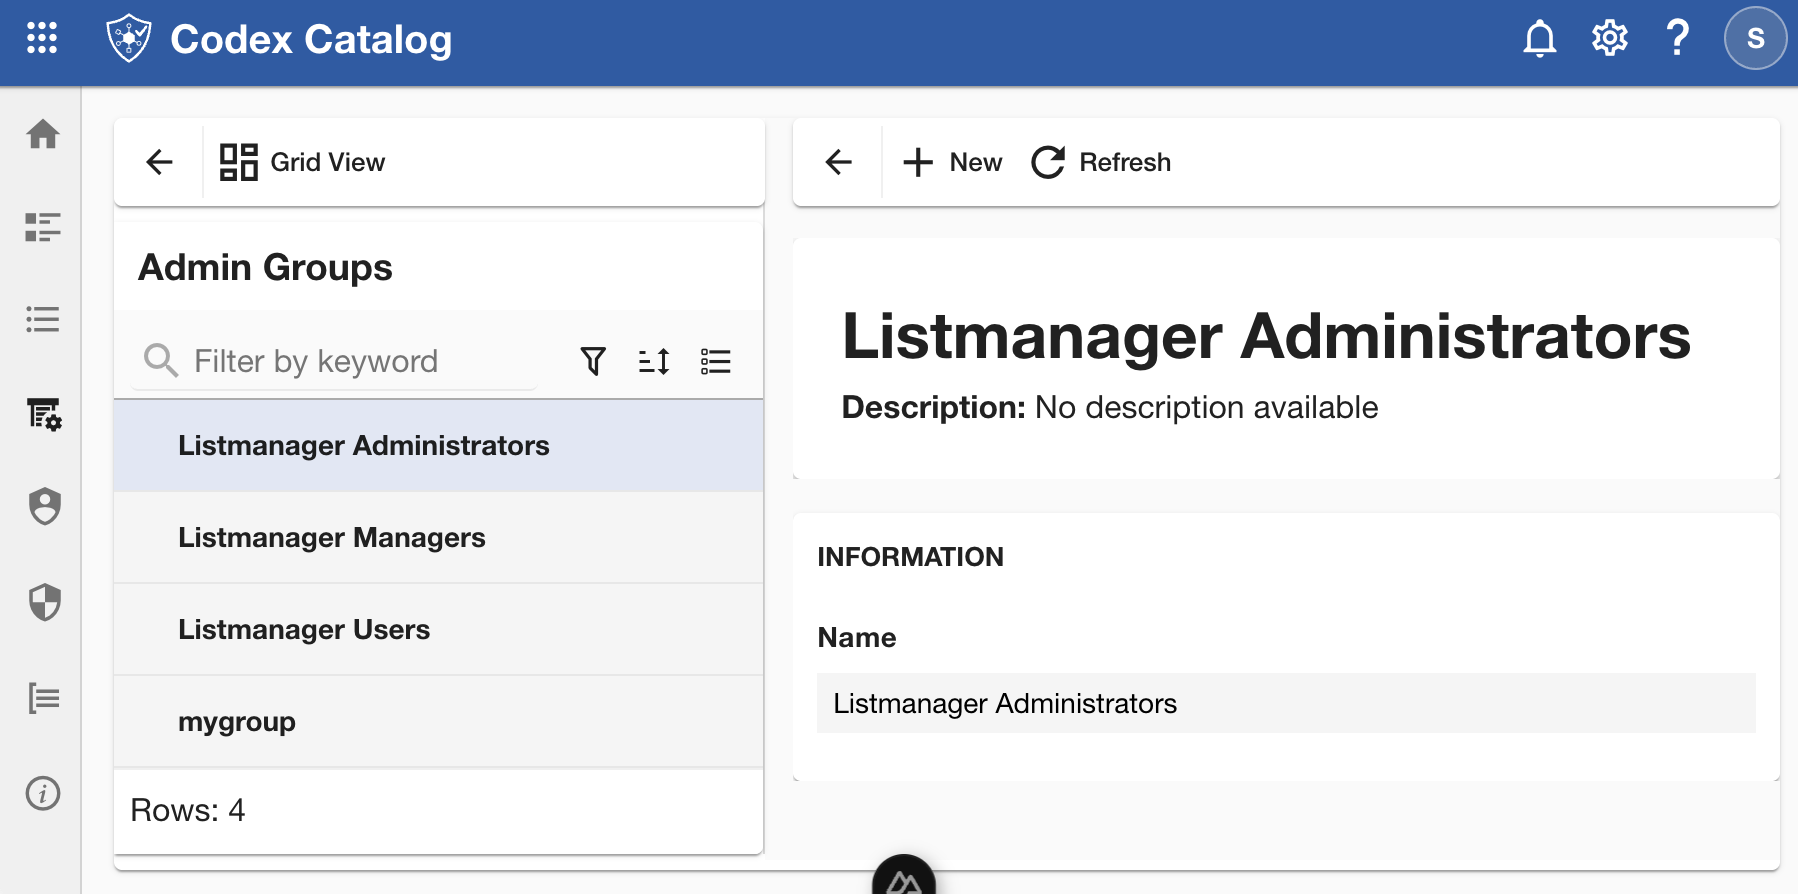
Where to find the Group Administration
-
Go to the Sidebar, click Manage.
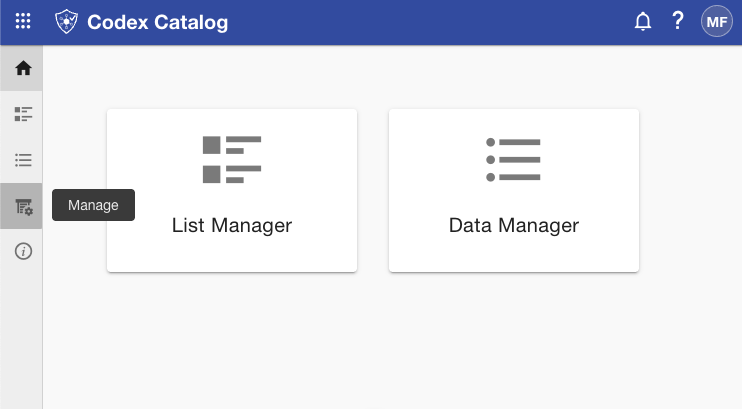
Then select Group Administration.

-
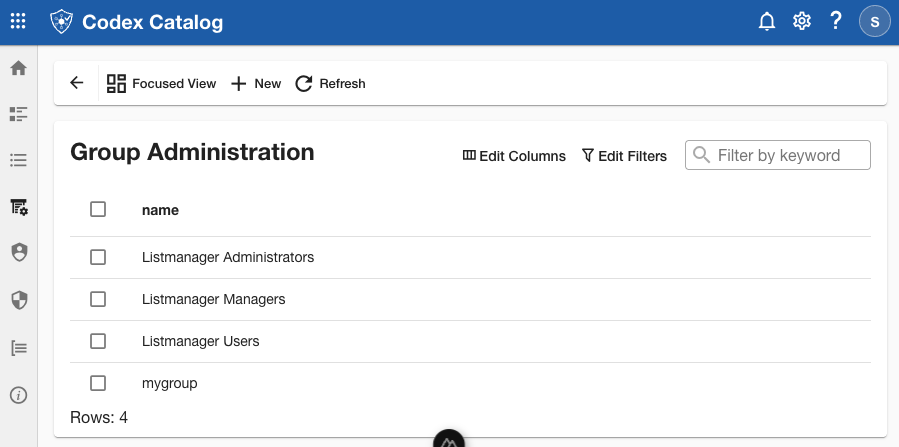
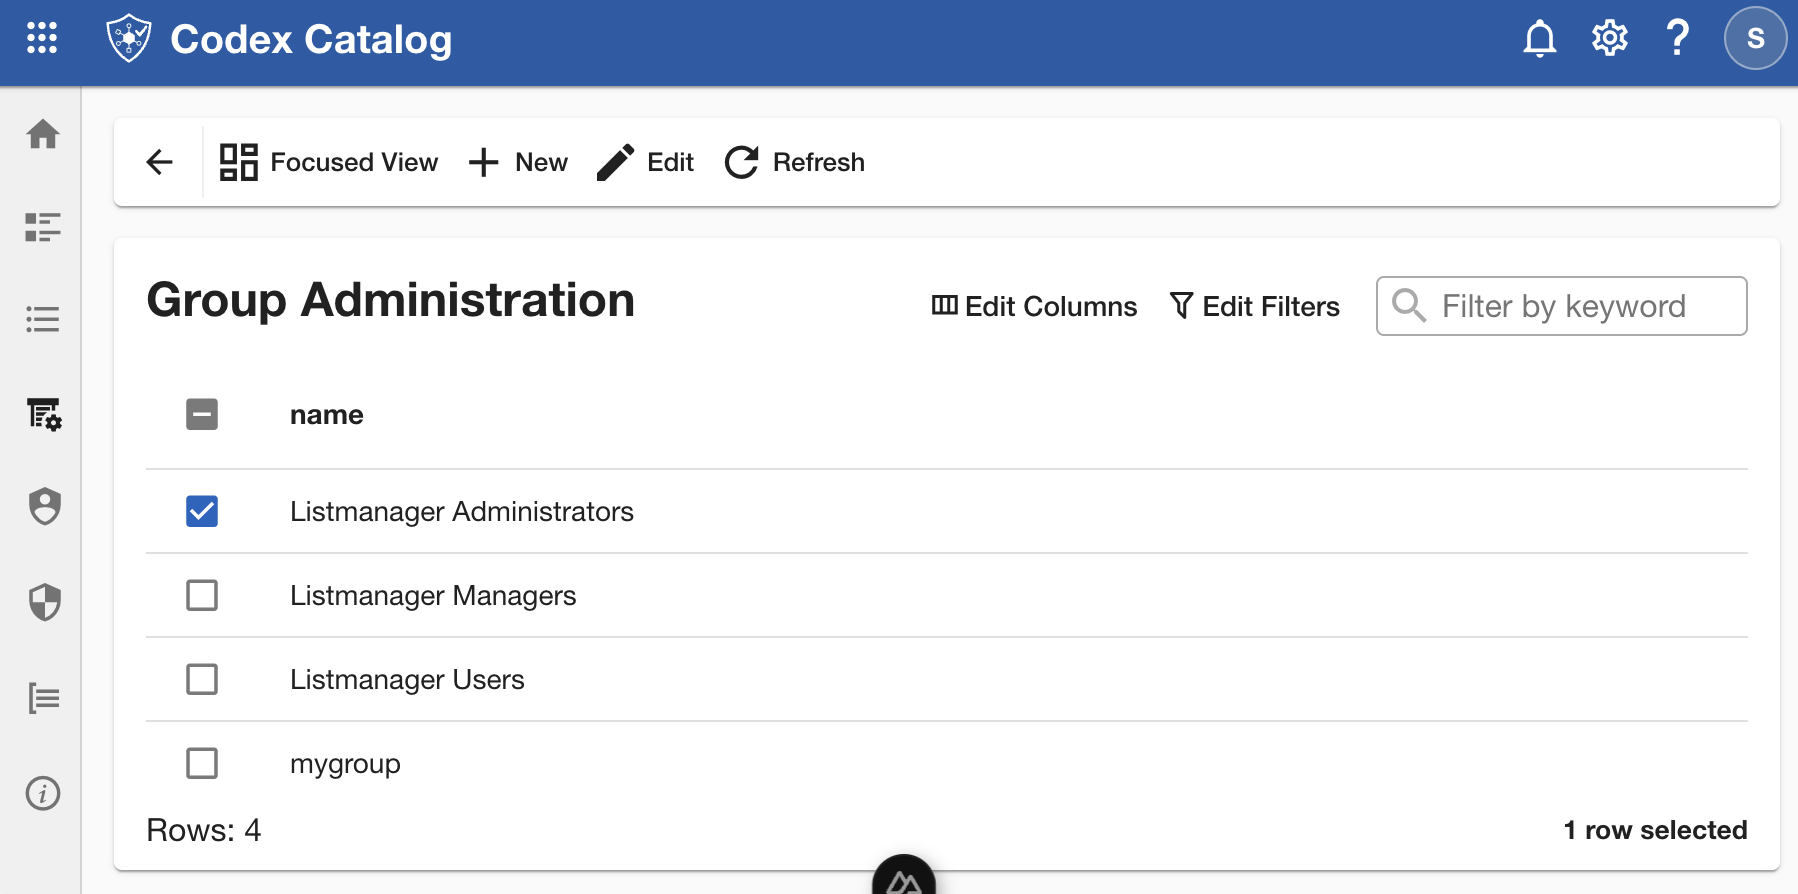
You will see the three default groups, plus any custom groups you have created.
View groups and group information
In Grid View, all groups are displayed in a table showing their Name, without any additional information.
The three default groups are:
| Role | Description |
|---|---|
| Codex Catalog User | Standard role with basic access to lists and data that have been shared with this user or the group(s) this user is a member of. |
| Codex Catalog Manager | Extended permissions beyond a regular User. A Manager can create and manage list structures (List Manager) and List Groups. |
| Codex Catalog Admin | Full control of the application, including managing users, groups, settings, and system configuration. |
In Focused View, the left pane lists all groups, while the right pane displays the selected group’s Name, Description, and management options (depending on your permissions).
The information displayed depends on your role on the application.
Search group by keyword
Use the Search bar at the View Toolbar of the page to quickly find a group by name.
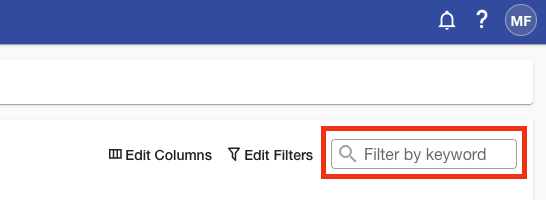
The search applies across all visible columns.
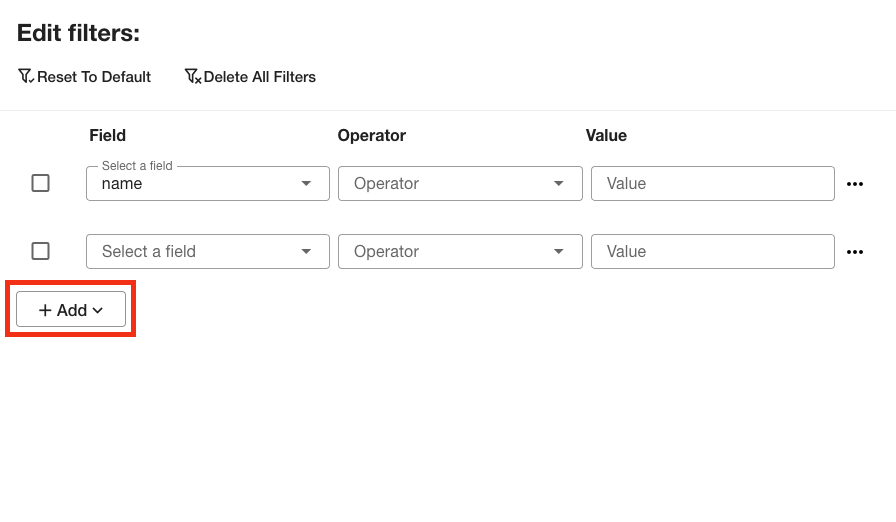
Filter groups
Filters help narrow down the displayed groups based on specific criteria.
Go to the View Toolbar in the top-right corner and select Edit Filters to set or clear your filters.
Clicking on this option will display a menu where you can:
- Select a Field.
- Choose an Operator (e.g., equals / not equals, contains / not contains, begin with / not begin with).
- Enter a Value to filter by.
You can add multiple conditions by clicking + Add, and then applying the changes.
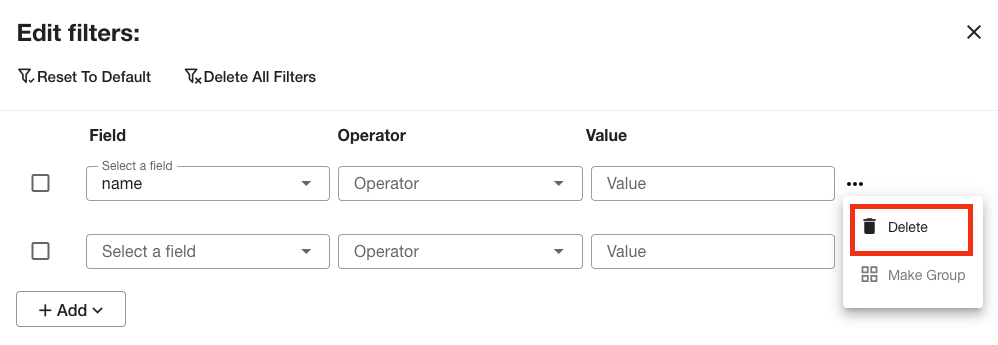
To remove an added field, click the three-dot menu on the right side of the field, then select Delete.
At the top of the panel, you will also find options to Reset to Default to start over, or Delete All Filters at once.
When you have finished configuring your filters, click Apply to update the filters.
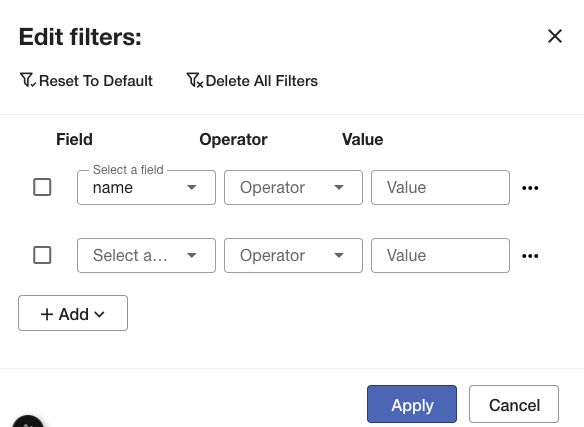
If you want to exit without applying changes, click Cancel to close the panel.
Sort your user groups
In Grid View, click the arrow icon beside the Name column to sort groups alphabetically in ascending or descending order.
The arrow icon is hidden. Hover over the field to make it visible.

Click the arrow to sort the lists by the desired field — in ascending order (up arrow) or descending order (down arrow).
In Focused View, sorting arrows are not available. However, you can still apply sort options in the left pane.
Customize View Columns
This option is available only in Grid View.
Use the Edit Column menu in the View Toolbar to quickly locate specific user groups.
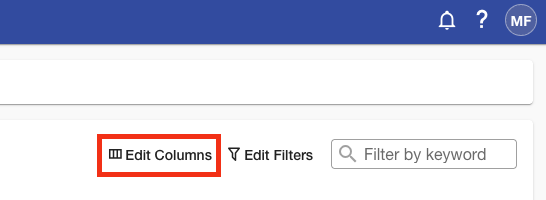
Once there, you will be able to customize which attributes are shown in the table.
You will see a side menu toggle on the right side of the application.
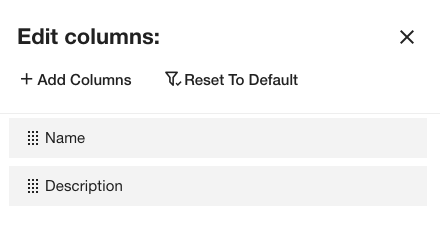
In this menu, you can:
- Add columns: click on + Add Columns and check the box next to the attributes you want to display. If you don’t see an attribute you are looking for, use the Search bar at the top of the panel. Once selected, click Add at the bottom (or Close to exit without changes).
-
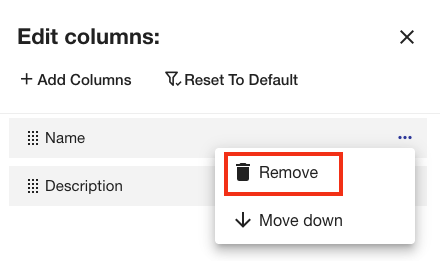
Hide a column: hover over the one you want to remove; a three-point menu will appear. Click on it and select Remove.
-
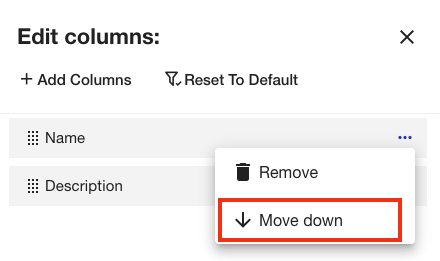
Reorder columns: You can reorder fields by dragging and dropping them, or by opening the three-point menu and choosing Move Up or Move Down.
When you finish, click Apply to update the table, or Cancel to discard your changes.
The option Reset to Default restores the original column layout.
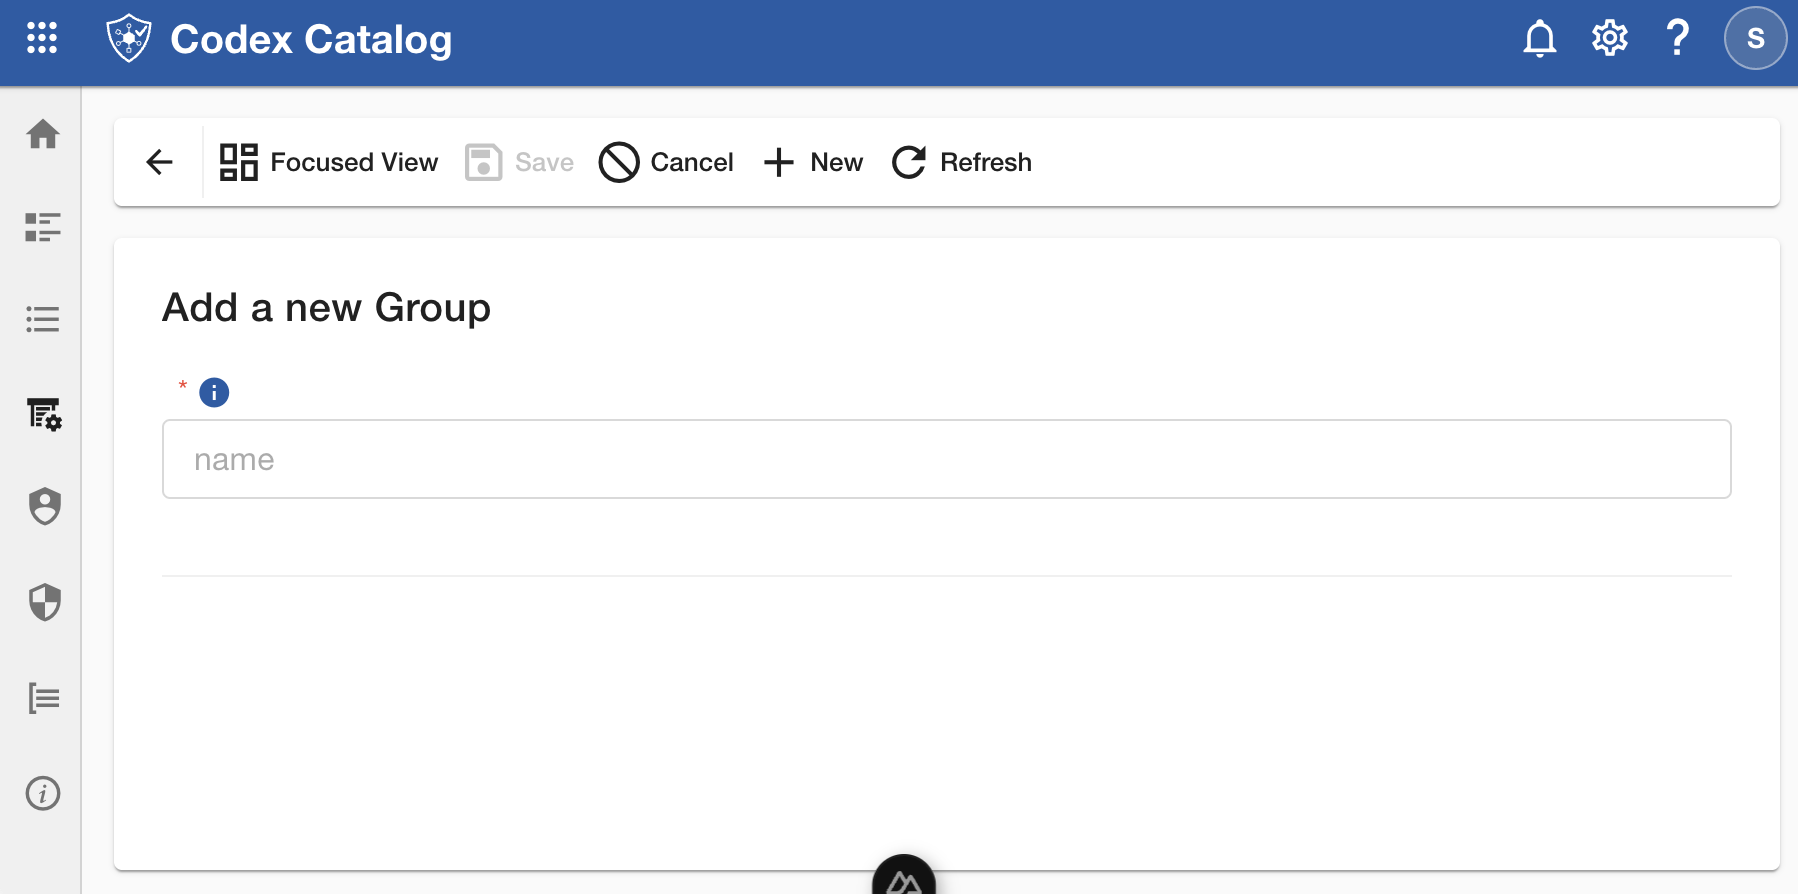
Add a group
-
Click + New in the Page Toolbar to start the group creation.
-
Type a Name (at least 3 characters long).
- Click Save in the Page Toolbar to confirm, or Cancel to discard the creation.
After saving, the new group appears in the list.
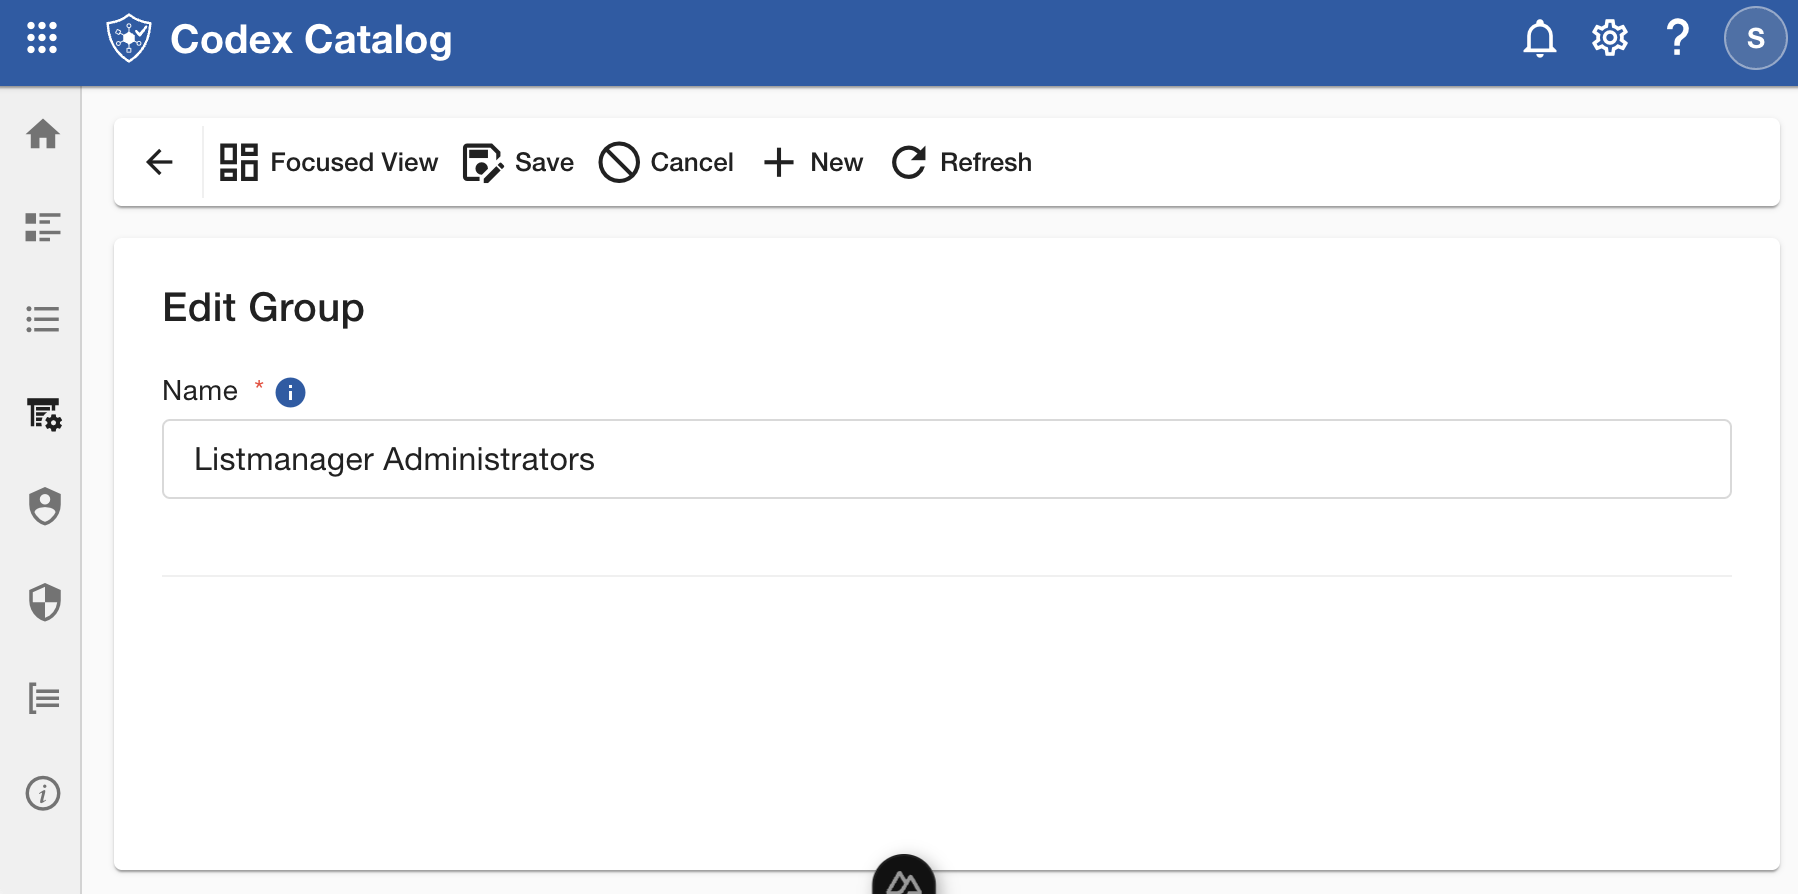
Edit a group name
-
Select the group you want to edit from the list.
-
Click Edit in the Page Toolbar.
-
Update the Name (must contain at least 3 characters).
-
Click Save to confirm the changes, or Cancel to exit without saving.
The updated group name will appear immediately in the list.
Delete a group
You can only delete a user group if you have the right permissions.
- Select the group you want to delete.
- Click Delete in the Page Toolbar.
- Confirm the deletion when prompted.
Warning: Deleting a group is permanent and cannot be undone.
Users who belonged to that group will lose any permissions associated with it.