First steps
You now have found the Codex Catalog. Now, you need to purchase it using one of our plans to get the installer.
Start the process
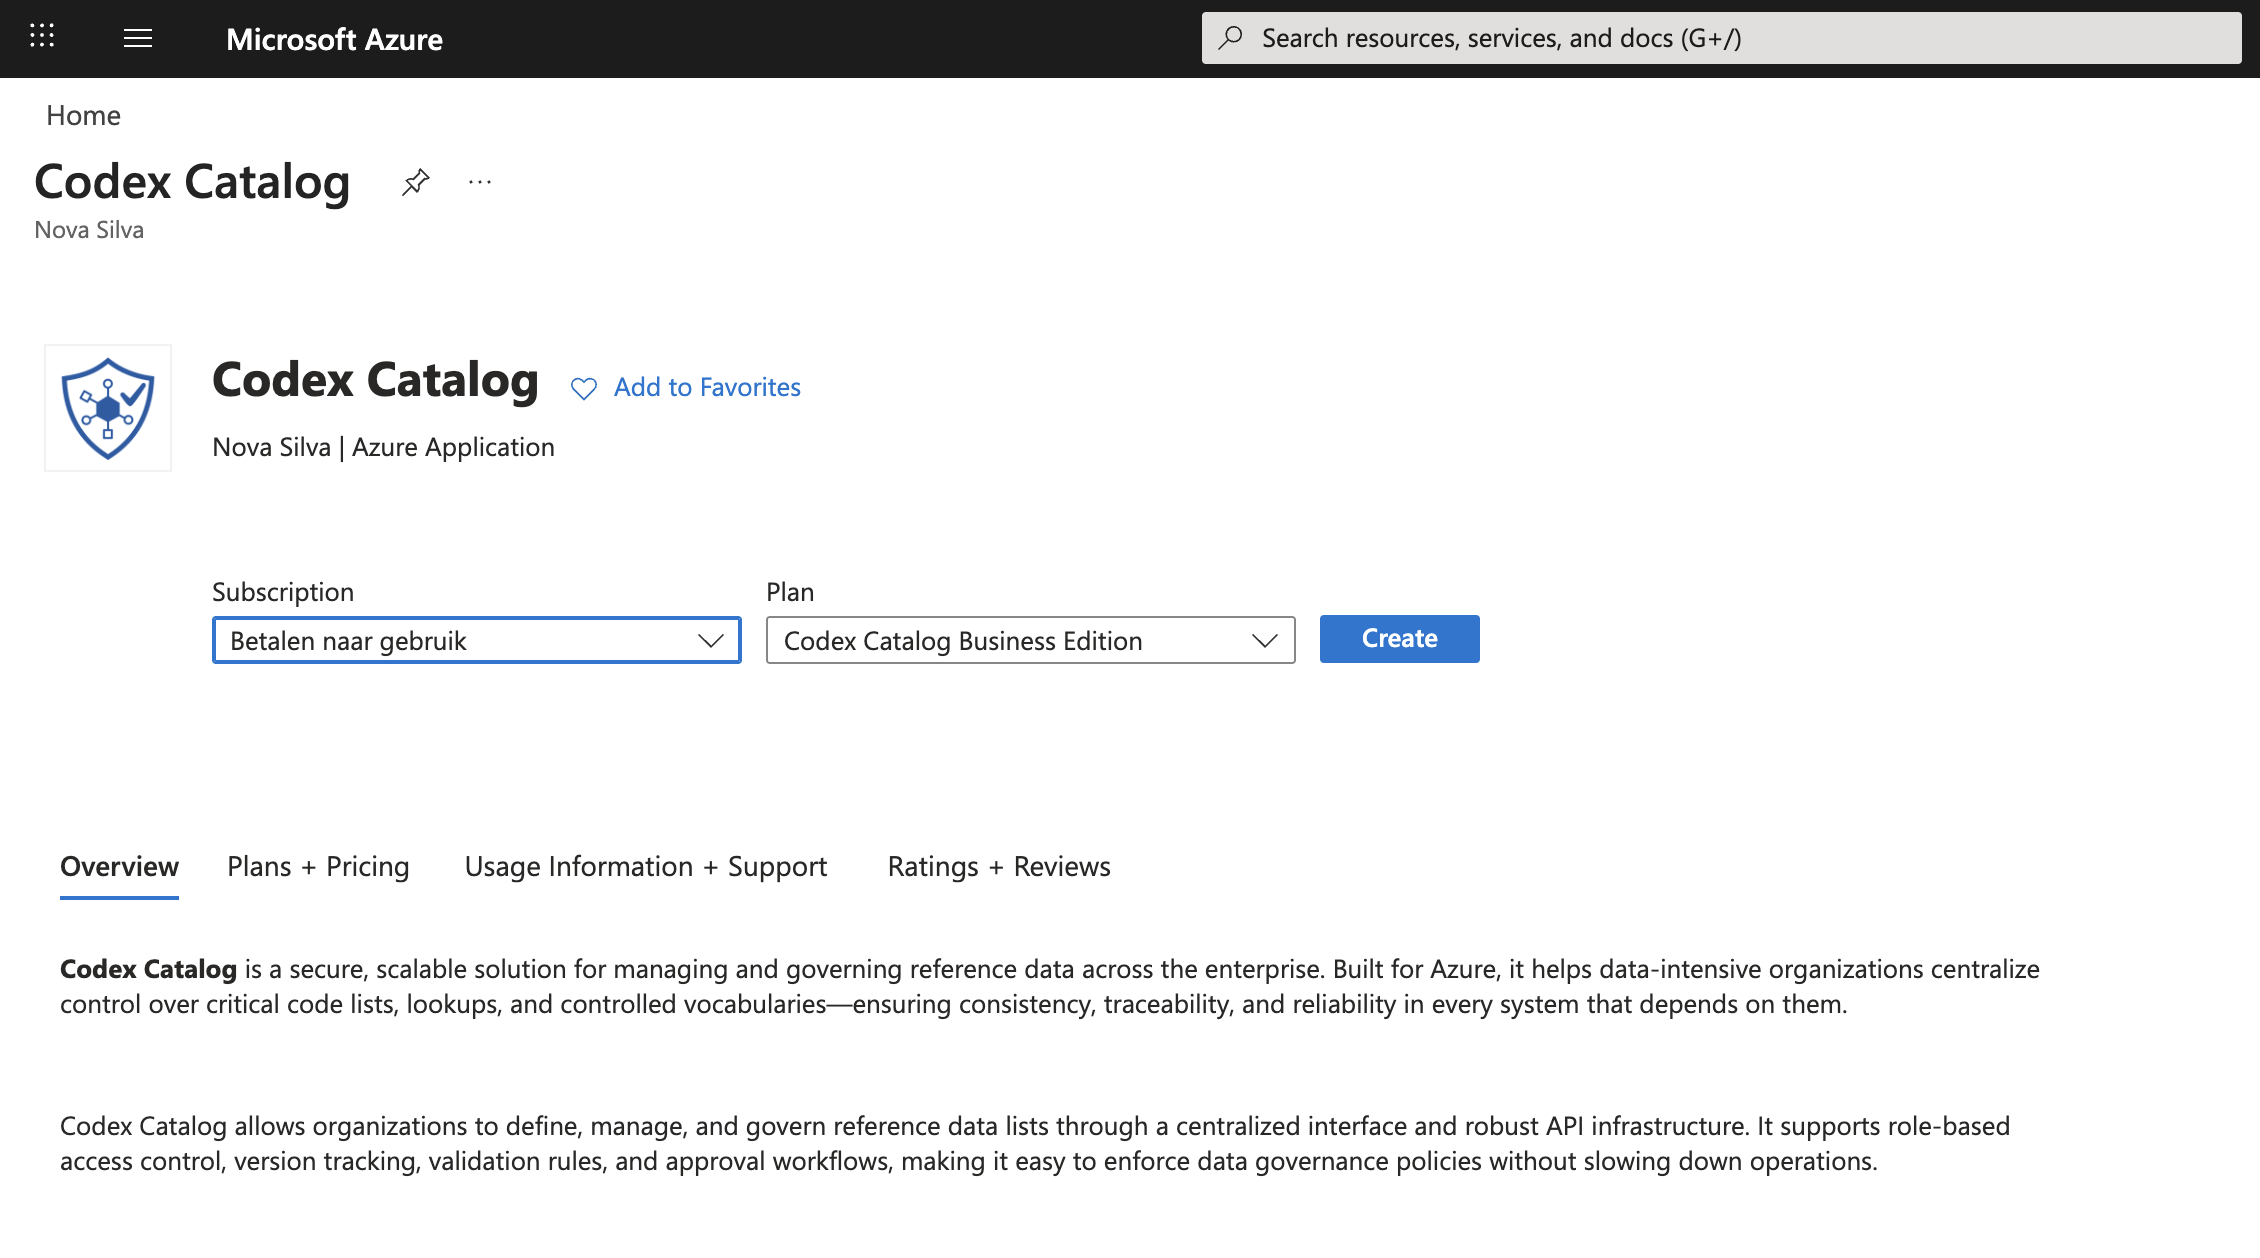
Once you have located the product, begin by clicking the Get it now button on the Azure Marketplace page.

You will be redirected to the detailed product view in the Azure Portal, where you need to choose the right options before continuing:
- Subscription: The subscription plan you want use to deploy the Managed Application
- Plan: choose the plan you want to use (CodexCatalog Business Edition).
Once you’ve made your selections, click Create to launch the setup wizard.
Creation steps
By clicking Create, the Azure setup wizard will start running. Azure will now prepare the resources required to run the Nova Silva Codex Catalog Installer.
The wizard will guide you through several sections needed for your initial configuration.
Basics
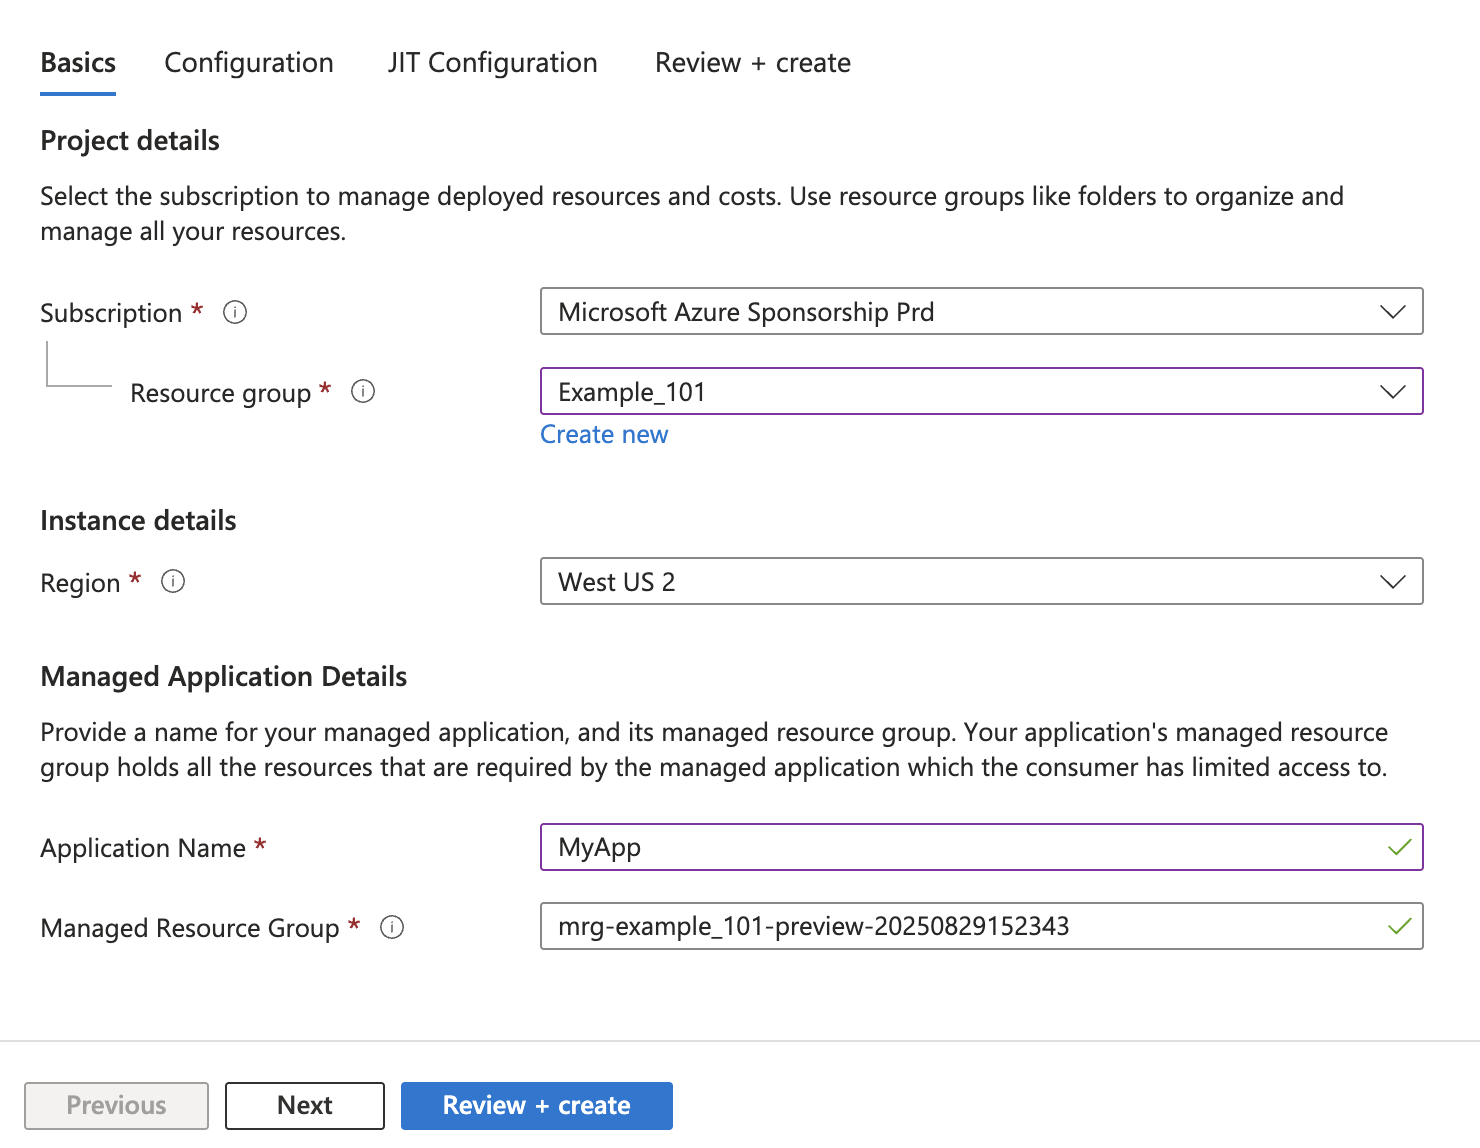
In this step, you define the core information for your application. These options tells Azure where and under what name your application will be created.
- Subscription: Select the subscription you are using to deploy the managed application.
-
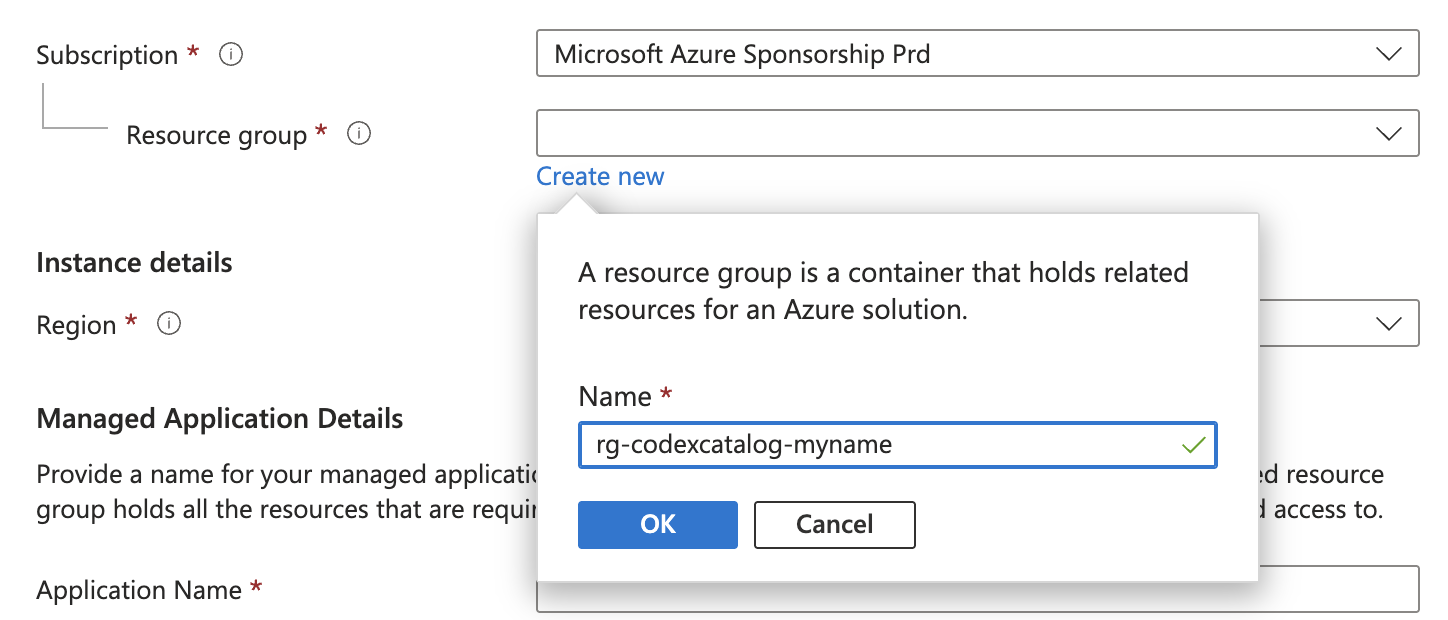
Resource Group: a resource group is a container that holds all the resources related to your application (such as virtual machines, storage, and networking). It helps you keep everything organized and makes it easier to manage, monitor, or delete resources as a single unit.
- If you already have a resource group, you can select it from the dropdown menu.
- If you do not have one yet, click Create new, enter a name for the resource group, and then click OK to confirm.
-
Region: the Azure region where your resources will be hosted. In general, it is best to choose the region that is geographically closest to your users or organization, to reduce latency and improve performance.
- Application name: this will be the identifier for your application within Azure, and it will also appear in the Azure Portal once the resource is created. Choose a clear and descriptive name, so you can easily recognize it later.
-
Managed resource group: the resource group that holds the underlying infrastructure required by the application (such as networking, storage, or other dependent services). Unlike the resource group defined earlier, this group is managed automatically by Azure.
By default, Azure will generate a Managed Resource Group name for you. In most cases, you can leave this as is unless you want to use a custom naming convention.
Once all your options are decided, you can go to the next step.
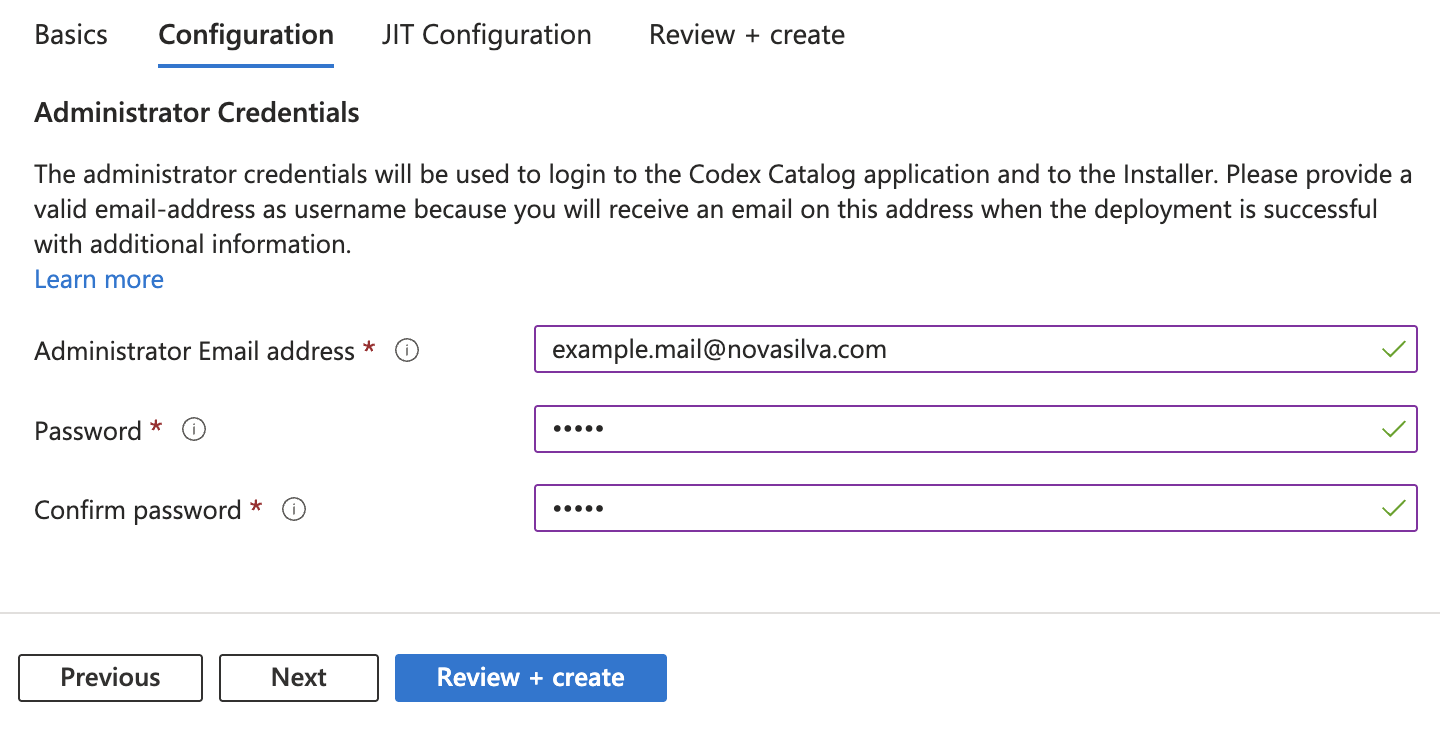
Configuration
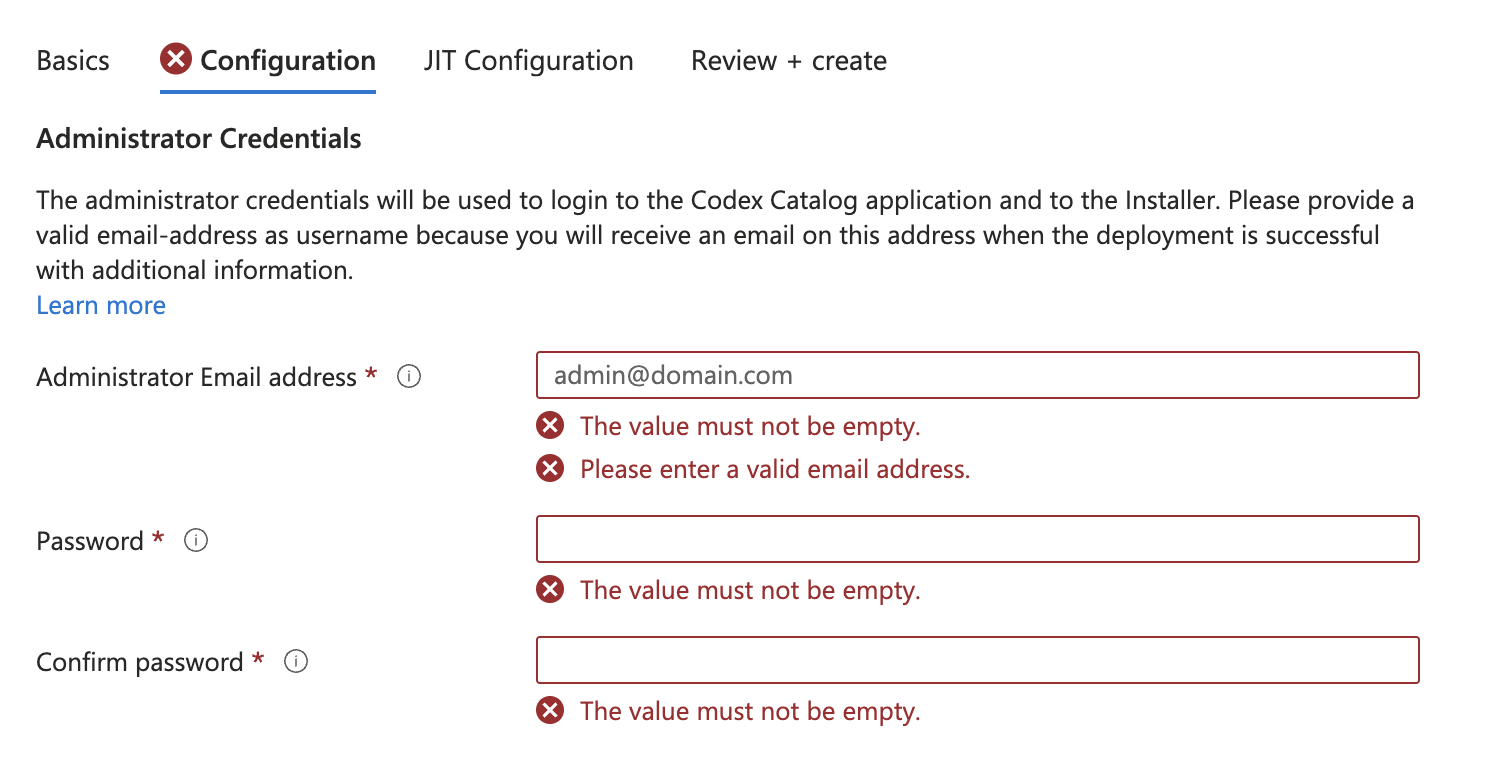
Here, you define the admin credentials that you will later use to log into the application. This ensures secure access to your installer once it’s ready.
You will need:
- An administrator email address (example: example.mail@novasilva.com)
⚠️ Make sure you remember your credentials!

When you are ready, if you do not need a JIT configuration, you can directly click on Review + Create. In other case, click on "Next".
Review + create
On this screen, you can review all your inputs and ensure they are correct after Azure has completed the data validation. You may need to scroll down to see all available options.
Once you have done this, you need to agree to the Co-Admin Access Permission. This allows the application to create and manage the necessary Azure resources on your behalf during setup.
If any required fields are missing, the Create button will remain disabled. You can navigate back to any step by clicking the labels marked with a red “X”.
Once the button is enabled, click “Create” to begin provisioning.
Azure will take a few minutes to prepare your application. When the setup is complete, you will receive an email with a direct link to your application.
Optional: JIT configuration
This section controls Just-In-Time (JIT) access, a security feature that restricts management access to your application.
No changes are needed in this section. You can simply keep the default settings, but disabling this option will not affect to the installation.
However, you can customize JIT configuration by clicking on the blue button, saving your preferred options.
Email confirmation
If succesful, after the setup is finished, check your email for a notification message from support@novasilva.com.
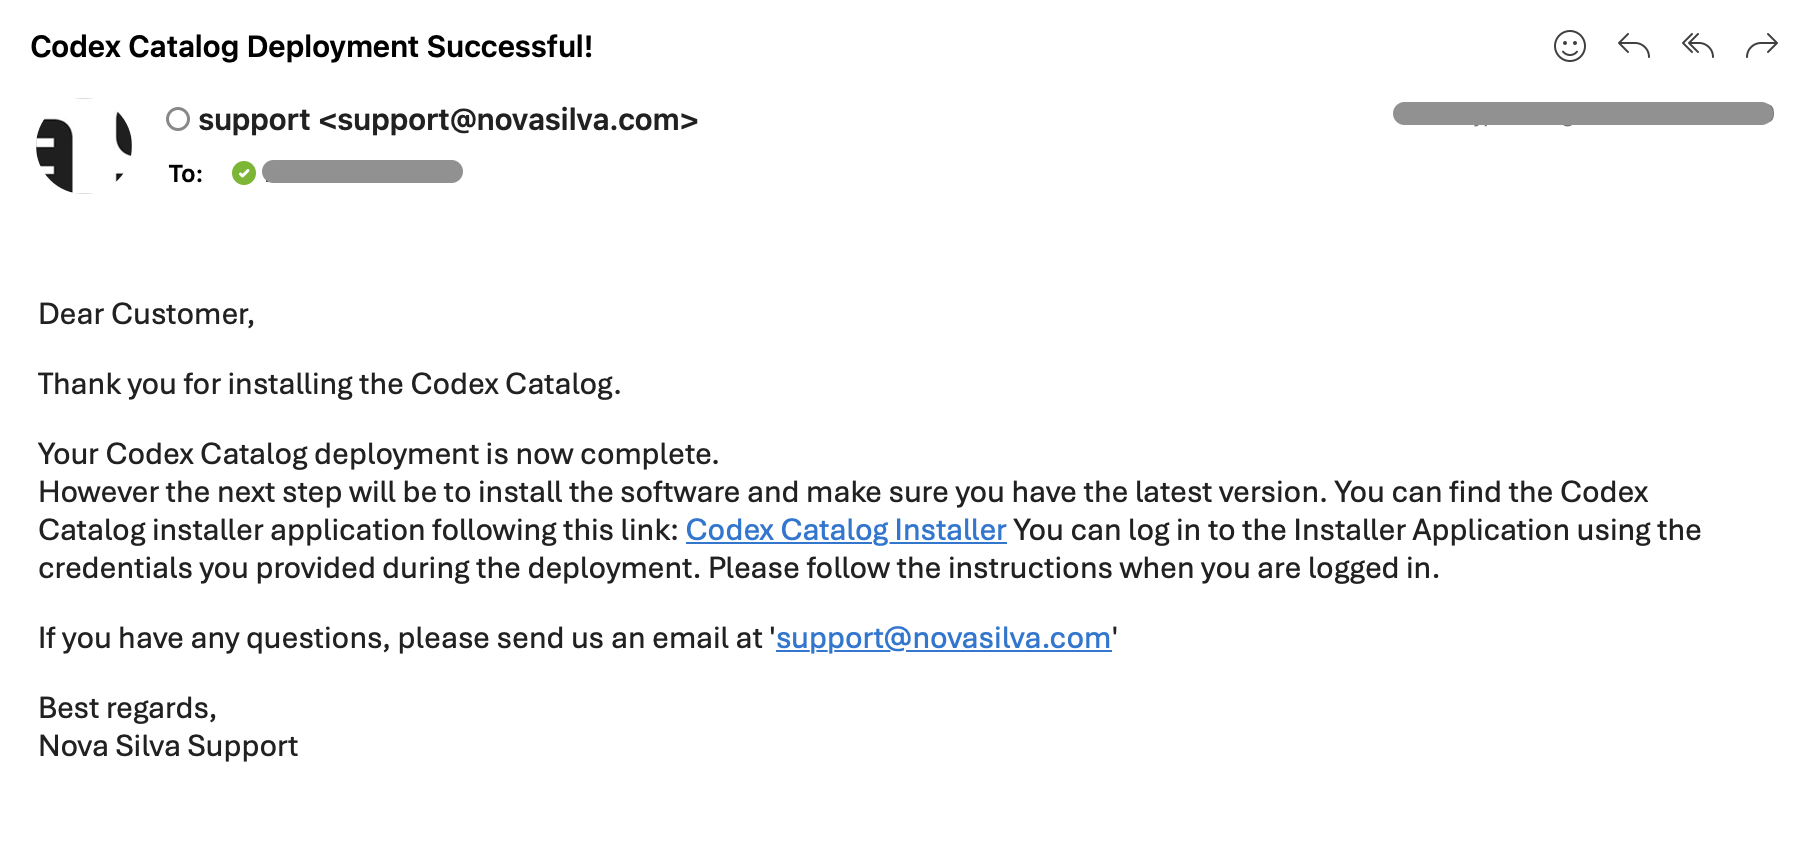
The email will contain a direct link to the Codex Catalog Installer login page.